Cart
0
Complete Your Setup





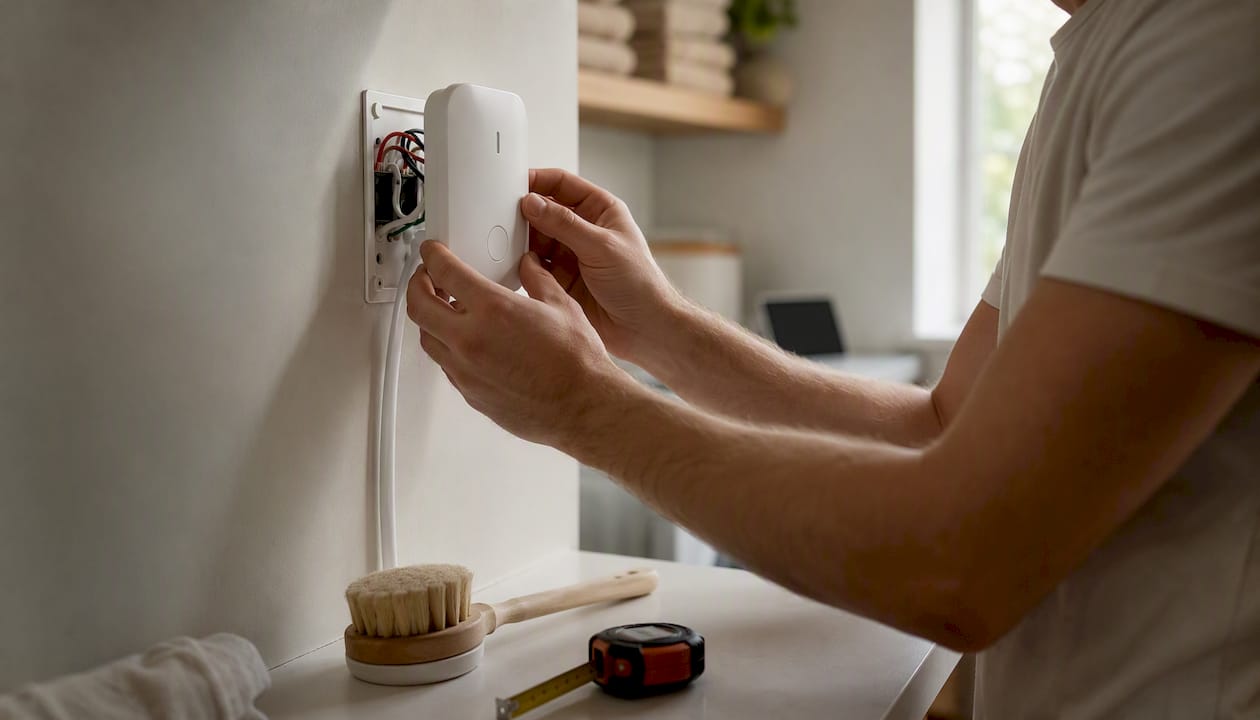
You can install a reliable smart home system by fixing your network first, choosing one ecosystem or prioritizing Matter-certified devices, and following a single room-by-room checklist for every device you add. This sequence alone prevents most of the problems homeowners run into.
Start here before you buy anything: Map the rooms you want to automate, run a Wi-Fi signal check, pick your control ecosystem, gather your tools, and block two to four hours for your first room. If any step involves your home’s main electrical panel or mains wiring, hire a licensed electrician.
Your five-minute action list:
A reliable smart home starts with a solid network, one chosen ecosystem, and a room-by-room checklist you reuse for every device you add.
| Point | Details |
|---|---|
| Network comes first | Fix Wi-Fi dead zones and create an IoT SSID before pairing any device. |
| Pick one ecosystem | Choose Google Home, Amazon Alexa, or Apple HomeKit and buy Matter-certified devices to reduce lock-in. |
| Start with one room | Basic DIY setups take 2–4 hours; whole-home installs take significantly longer, so scope carefully. |
| Document everything | Log device name, location, SSID, account, and firmware version for every install. |
| Sabezon fits this workflow | The Smart WiFi Garage Door Controller and Auralis™ Sink System both follow the universal checklist and require no hub. |
Smart home installation follows four phases: infrastructure assessment, platform selection, device installation, and automation setup. Basic DIY setups often take 2–4 hours; whole-home installs take significantly longer. Knowing that up front keeps expectations realistic.
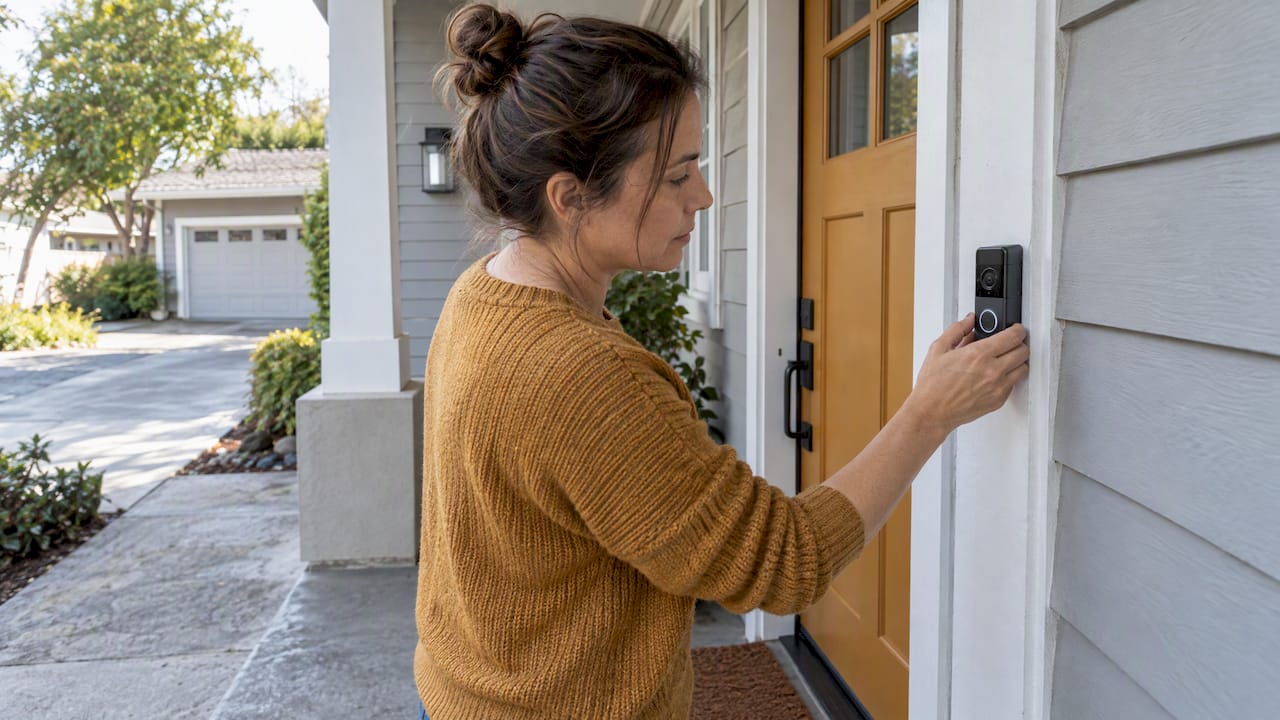
Set a goal before you set a budget. Comfort, security, and energy savings each pull toward different device categories. A security goal means cameras, a smart doorbell like the Entryx™ Smart Doorbell Camera, and smart locks. An energy goal means a smart thermostat first, then smart plugs. Pick one goal per room.
Start with one room and one job. A thermostat and a voice assistant hub deliver the highest immediate return and give you a working system to learn on before you scale.
Budget checklist by device class:
Pro Tip: Before purchasing any smart switch, open the switch box and confirm a neutral wire (usually white) is present. Many older homes lack one, and most smart switches require it. The LUMORA™ Smart Switch product page lists this requirement clearly.
A network-first approach prevents the majority of connectivity and automation failures later. Run a signal check in every room where you plan to install a device. If signal drops below -70 dBm, you need a mesh system or an additional access point before adding devices.
Router settings to confirm before pairing any device:
When you have more than a dozen devices, a mesh system with wired backhaul keeps automations running even when one node reboots. For cameras and hubs, assign DHCP reservations so their IP addresses never change.
| Network scenario | Recommended fix |
|---|---|
| Dead zones in 1–2 rooms | Add a single Wi-Fi extender or mesh satellite |
| 15+ devices on one router | Upgrade to a tri-band mesh system |
| Cameras dropping offline | Assign DHCP reservations; consider wired Ethernet |
| Devices on same SSID as laptops | Create a dedicated IoT guest SSID or VLAN |
Pro Tip: Label every smart device’s MAC address in a spreadsheet alongside its DHCP reservation. When a device goes offline, you can spot an IP conflict in seconds.
Many consumer smart devices connect directly over Wi-Fi and a companion app. Hub-based protocols like Zigbee, Z-Wave, and Thread add range and reliability, especially once you pass 15 devices. Matter has matured into a practical interoperability layer; pick Matter-certified gear where possible to reduce lock-in and preserve flexibility between ecosystems.
Answer-first recommendation: choose one ecosystem (Google Home, Amazon Alexa, or Apple HomeKit) and buy Matter-certified devices wherever they exist. That single decision prevents most compatibility headaches.
| Protocol | Best for | Hub required? |
|---|---|---|
| Wi-Fi (direct) | Cameras, displays, thermostats | No |
| Zigbee | Lights, sensors, locks | Yes |
| Z-Wave | Locks, sensors, garage controllers | Yes |
| Thread / Matter | Lights, sensors, plugs, locks | Border router (often built into hub) |
Voice assistants and smart displays serve different needs. A Google Nest Mini or Amazon Echo Show handles voice commands and quick status checks. Smart displays make a more approachable control surface for guests who don’t have the right app installed. A Sonos Beam adds whole-home audio and integrates with most major ecosystems for voice control in media rooms.
Pro Tip: Prioritize devices that support local control (processing commands on your home network without a cloud call). They stay responsive during internet outages and reduce privacy exposure.
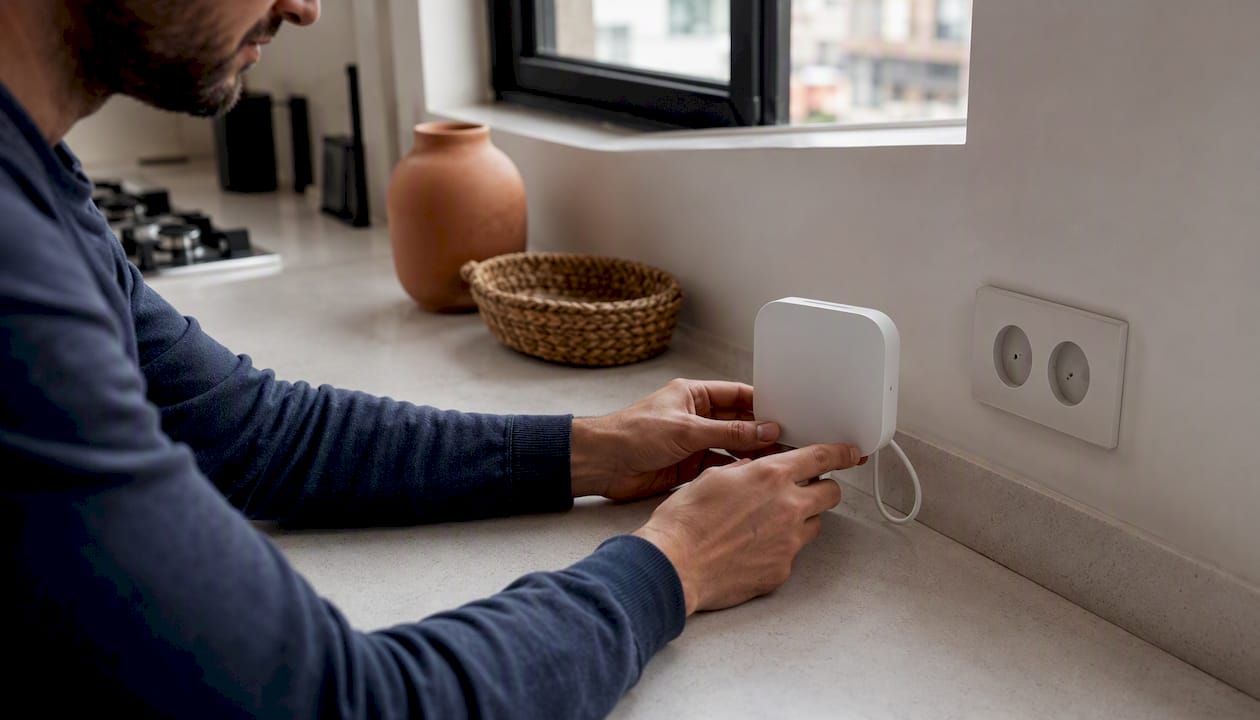
Wired devices are more reliable than battery-powered ones, but they require more planning. Battery devices are faster to install and easier to move. For smart switches, confirm neutral wire availability before buying. For in-wall dimmers, check that the bulbs are rated for dimming.
Placement rules by device type:
Tools to have before you start:
Any work involving your home’s main electrical panel, new circuit runs, or mains wiring requires a licensed electrician. Skipping this step can void your homeowner’s insurance and your device warranty.
This sequence works for every device category.
Total time per device: 20–40 minutes for a Wi-Fi device; 30–60 minutes for a wired switch or doorbell.
Pro Tip: Keep your configuration log in a shared cloud document (Google Docs or Apple Notes). If a device needs a factory reset six months from now, you will have the SSID, account, and firmware version ready.
Start with one automation, test it for a week, then add another. Time-based automations are the safest starting point because they have no sensor dependencies.
High-value, low-risk automations to build first:
Every automation follows the same logic: trigger → condition → action. A trigger fires the automation (time, location, device state). A condition limits when it runs (only on weekdays, only when someone is home). An action is what happens. Never automate door unlocking without a multi-factor check. Keep safety-critical devices on manual override.
Security hardening is not optional. A poorly secured smart home is an open door to your local network.
Priority checklist:
Backup and recovery: Export your hub or platform configuration monthly if your app supports it. Document every credential in an encrypted password manager. For remote home monitoring setup and trade-offs, a homeowner’s guide to remote monitoring covers the key decisions well.
Pro Tip: Subscribe to the security advisory feed for your hub’s firmware (SmartThings, Home Assistant, Hubitat). Critical patches often drop before mainstream tech news covers them.
Work through this sequence before calling support.
Device won’t connect during setup:
Device goes offline intermittently:
App pairing error:
When to hire a professional: Call a licensed installer when wiring is unsafe or unknown, when you need whole-home wired Ethernet runs, or when AV integration involves custom programming. Professional installations begin with a site survey and commonly include enterprise-grade network upgrades and a homeowner handoff.
Maintenance cadence:
When adding devices, follow a naming convention from day one (“Room + Device Type”) and group devices by room in your app. Test new automations in isolation before connecting them to existing routines. Add a dedicated hub when your device count passes 15 or when Wi-Fi-only reliability becomes a problem.
Smart home devices sold in the United States must meet FCC Part 15 requirements for radio frequency emissions. Devices that connect to mains wiring (switches, outlets, hardwired cameras) should carry UL listing or ETL certification, which confirms they have been tested to recognized safety standards.
For new construction or significant electrical modifications, local building codes typically require a permit and inspection. Installing a smart switch in an existing box generally does not require a permit, but running new circuits does. Check with your local building department before starting any wired project. The smart home features checklist for new builds is a useful reference for understanding what compliance looks like in a planned installation.
Matter certification, managed by the Connectivity Standards Alliance, is not a safety standard but a compatibility one. It confirms a device can communicate across ecosystems without a proprietary bridge.
Many home insurers offer discounts for verified security devices: smart smoke detectors, water leak sensors, and monitored doorbell cameras are the most commonly recognized categories. Contact your insurer directly to ask which devices qualify and what documentation they need.
Warranty implications matter more than most homeowners realize. Installing a smart switch yourself does not void the switch’s warranty, but improper wiring that damages the device typically does. Modifying a device’s firmware (flashing custom firmware like Tasmota) usually voids the manufacturer warranty entirely.
For home automation in multi-unit dwellings, check your lease or HOA rules before installing any device that modifies shared infrastructure, including doorbell cameras that face common areas.
This article is general information, not legal or insurance advice. Confirm current rules with your insurer, local building authority, or a qualified professional.
The single most consistent finding from professional smart home installers is this: homeowners who document everything from day one spend a fraction of the time troubleshooting later. A simple spreadsheet with device name, location, SSID, account email, and firmware version is worth more than any smart hub feature.

Pre-wiring during a renovation is the highest-leverage move available. Running Cat6 Ethernet to camera locations, TV walls, and hub closets costs very little during construction and eliminates the most frustrating retrofit problems. Professional installs prioritize structured wiring and systematic commissioning for exactly this reason.
For complex installs, a site survey before purchasing anything saves money. A professional can identify neutral wire gaps, dead zones, and panel capacity issues that would otherwise surface mid-project.
Most homeowners get the most value by starting small and iterating one room at a time.
The devices in this guide work best when they are practical, reliable, and easy to add to an existing network. The Sabezon Smart WiFi Garage Door Controller connects via Wi-Fi and the Tuya app, pairs in minutes, and supports remote monitoring and timer-based open/close control. No hub required. The Auralis™ Smart Kitchen Sink System brings digital display and waterfall faucet control to the kitchen, a practical upgrade that fits the appliance-install steps in this guide.
Both devices follow the same universal checklist covered above: download the app, connect to your 2.4 GHz network, name the device, update firmware, and test. Browse the full Sabezon smart home tech collection to find devices matched to the rooms and jobs you mapped at the start of this guide. Every product ships with installation notes, and Sabezon’s support team is available if you hit a snag.
Network and infrastructure:
Platforms and protocols:
Professional installation: