Cart
0
Complete Your Setup



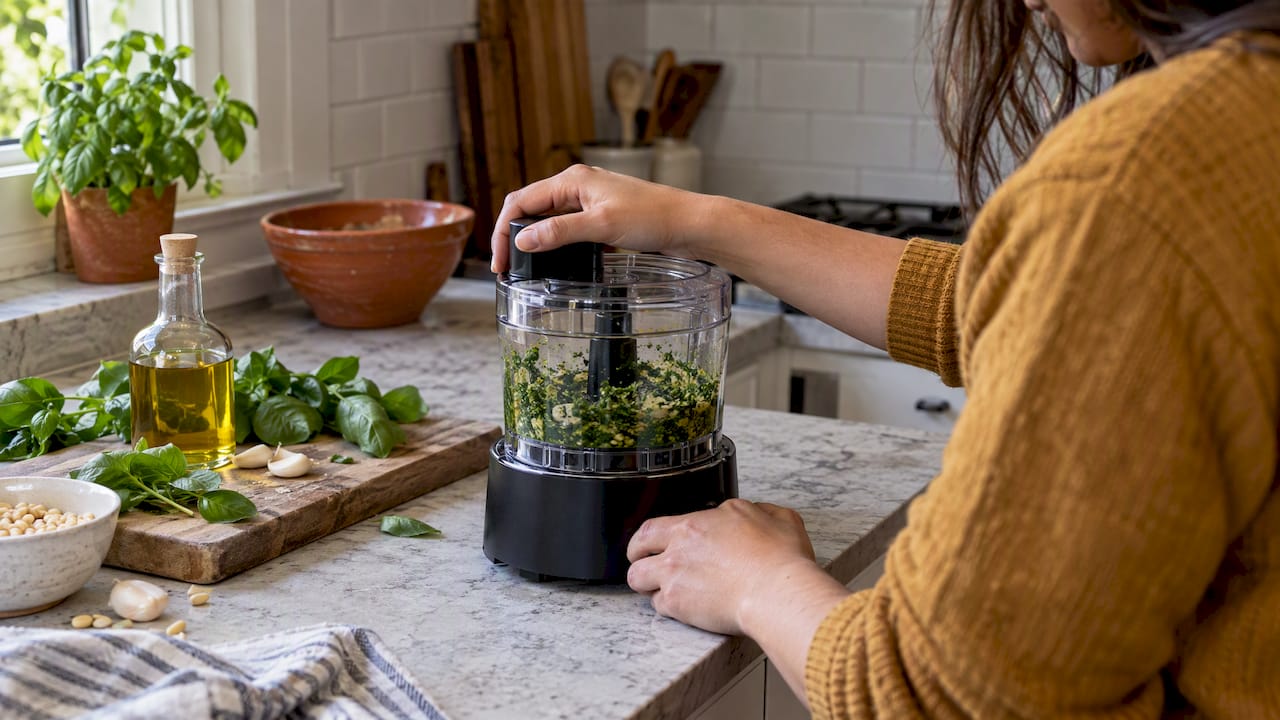
A mini food processor is best at small jobs: a cup of pesto, a bowl of salsa, a quick dressing, a handful of chopped onion. The recipes below are built for that size. Each one uses a few ingredients, takes about 5 minutes, and fits in a standard 3 to 4 cup bowl without a mess.
Smart Products. Zero Hassle. That is how a mini chopper should feel on a busy weeknight.
A full-size processor is great for big jobs. A mini is faster to pull out, faster to wash and easier to store. Serious Eats notes that mini models take up less space, are easier to move and put away, and do well with small-batch work.
That shapes how you cook with one. Recipes written for a 11 to 14 cup bowl will not fit. Halve them, or make them in two rounds. The recipes here are already sized for a mini bowl, so you can skip the math.
Bon Appétit describes a mini processor as a quicker alternative to a chef’s knife for chopping and slicing jobs, with blades designed to cut through ingredients fast. That is the real value: you save the 10 minutes of knife work, then get to the good part.
The bowl size on the box is the total volume, not the amount of food you should add. A simple rule keeps results even:
If you want a deeper look at sizes, our guide to mini food processor capacity shows what fits in 1.5 to 6 cups.
These five habits make every recipe below work better.
Dips are the classic mini processor job. They need a small amount of everything and a quick whirl.
Makes about 3/4 cup. Time: 5 minutes.
Pulse the nuts and garlic first until they are fine crumbs. Add basil and cheese and pulse until a coarse paste forms. With the motor running, or in short pulses, add the oil. Taste and adjust.
Pesto is also a base for other meals. Stir it into pasta, spread it on toast with tomato, or thin it with a little oil for a drizzle. For storage, Serious Eats says to keep pesto in an airtight container in the refrigerator for up to 3 days.
Makes about 1 1/2 cups. Time: 5 minutes.
Process the tahini and lemon juice first for 30 seconds. This step whips them together and gives a smoother finish. Add the rest and run until smooth, adding the saved chickpea liquid one spoonful at a time. For hummus, process until smooth rather than pulsing.
Makes about 2 cups. Time: 5 minutes.
This one is lighter and brighter. The Serious Eats version uses thawed peas, olive oil, garlic and lemon juice, processed until smooth, and yields 2 cups. If your mini bowl is on the small side, make it in two rounds and stir them together in a bowl.

Makes about 2 cups. Time: 3 minutes.
For salsa, pulse until the mix is combined but still slightly chunky. Count the pulses. Six to eight short ones is usually enough. One long run turns salsa into soup.
Makes about 3/4 cup. Time: 8 minutes.
Toum is a thick, fluffy garlic sauce that needs an emulsion. Add oil in a thin drizzle and use ice water to help it stay together. Food Network Kitchen says the ice water helps with stability, a fluffy texture and keeps the mixture from separating. A lid with a small feed hole or basin makes slow pouring easier. One reviewer notes the KitchenAid mini chopper has a lid basin made for slowly adding olive oil to sauces like mayonnaise.
Start with peeled garlic and a little salt, process to a paste, then add oil drop by drop at first. Go slower than feels necessary.
Makes about 3/4 cup. Time: 2 minutes.
Blitz the shallot, garlic, acid, mustard and herbs first. Then add the oil in a thin stream. Mustard helps the dressing stay blended. Serious Eats found the mini processors it tested could make mayonnaise and dressings, so this is well within range.
Makes about 1/3 cup. Time: 2 minutes.
Peel a few garlic cloves and a thumb of ginger, add a spoonful of oil and a pinch of salt, and pulse to a paste. Serious Eats uses mincing a single garlic clove as a test of how well a mini machine handles very small amounts. Keep a small jar in the fridge for stir-fries and soups.
Makes about 1 cup. Time: 4 minutes.
This is the biggest time saver on the list. Pulse 1 onion, 1 carrot and 1 celery stalk, all cut into chunks, until finely chopped. Cook it in a little oil as the start of soup, chili, pasta sauce or rice. Chopped this way, the pieces are small and even, so they soften quickly in the pan.
For more ways to use a chopper on busy days, see mini chopper uses for daily countertop prep.
Makes about 1 cup. Time: 3 to 4 minutes.
Pour 1/2 cup very cold heavy cream into a chilled bowl with 1 tablespoon powdered sugar and a drop of vanilla. Pulse in short bursts and check often. Stop when soft peaks form. Cream goes from perfect to grainy quickly, so watch it closely. Chill the bowl and blade first for the best result.
Makes about 1/2 cup. Time: 6 to 10 minutes.
Warm 1 cup roasted nuts (peanuts, almonds or cashews) and process, stopping to scrape often. First you get crumbs, then a ball, then a paste, then a spread. If your motor is small, give it rest breaks so it does not overheat. Add a pinch of salt and, if you like, a teaspoon of honey. Nut butters and other spreads are among the uses beyond basic chopping that home cooks like to try.

Makes 6 small patties. Time: 10 minutes plus cooking.
Pulse until the mix holds together when pressed but still has some texture. Shape into patties and pan-fry in a little oil until golden on both sides. Serve in a pita or over greens with a spoon of the garlic sauce above.
Makes about 2 cups. Time: 3 minutes.
Cut cauliflower into small florets, fill the bowl about half full, and pulse in short bursts until the pieces look like rice. Do it in two or three rounds. Sauté for a few minutes in a hot pan with oil and salt.
We sell smart kitchen tools, and we hear the same thing from busy homeowners again and again: they do not want another gadget that sits in a cabinet. A mini food processor earns its spot only if it is quick to use.
Here is how we think about it:
Tested. Proven. Loved. That is the standard we want every kitchen tool to meet.
— Tony
Small machines have small motors. Some foods are best left for another tool.
For hot ingredients, let them cool before processing. Steam builds up under a closed lid, and hot liquids can spray when the lid opens. Check your model’s manual for its own limits on liquids and run time.
If you are ever unsure whether a food is safe for your specific model, follow the user manual or contact the maker of the appliance.
Small batches mean you can eat fresh. Still, a few habits help.
Here is how the recipes can fit into a normal week with about 20 minutes of total effort.
| Day | Recipe | Time | Use it for |
|---|---|---|---|
| Sunday | Flavor base (onion, carrot, celery) | 4 min | Soup, chili, pasta sauce |
| Sunday | Hummus | 5 min | Lunch boxes, snacks |
| Tuesday | Vinaigrette | 2 min | Salads, grain bowls |
| Wednesday | Cauliflower rice | 3 min | Stir-fry, burrito bowls |
| Friday | Salsa | 3 min | Tacos, chips, eggs |
| Weekend | Pesto or chickpea patties | 5 to 10 min | Pasta, sandwiches, guests |
Notice what repeats: wash, dry, repeat. Because the bowl is small, rinsing it between recipes takes seconds.
Before you buy, ask four simple questions.
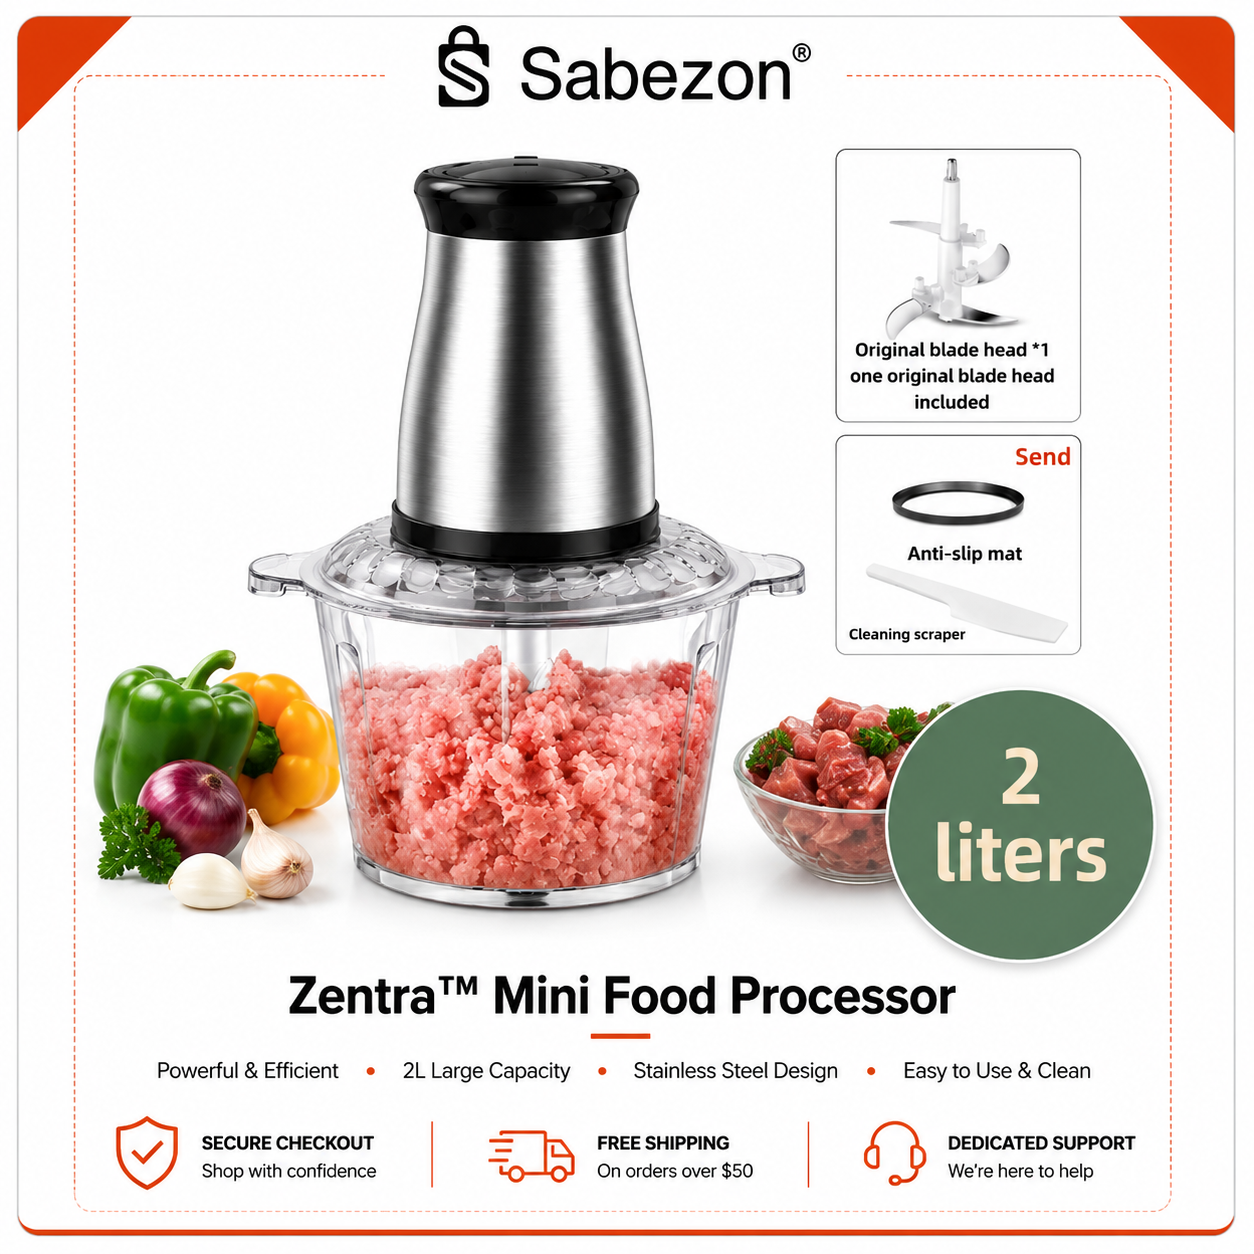
If you want a simple, reliable chopper for these recipes, take a look at the Zentra™ Mini Food Processor. It is part of our Smart Kitchen collection, made for easy setup and everyday use. Shop Smarter, Live Better.

You can also browse all Sabezon collections for cleaning tools and home tech that save time in the rest of your house.
Growing herbs for your pesto? Our guide to self-watering planters for herbs keeps basil going on a patio or windowsill.
Sauces, dips, dressings, spreads, spice pastes, chopped vegetables, cauliflower rice, small patties and even whipped cream. Cooks also use them for nut butters, herb oils and spice blends. The common thread is small amounts that you want done quickly.
Process the tahini and lemon juice first, then add the chickpeas and run until smooth. Add a spoonful of liquid at a time, and stop to scrape the bowl. If your bowl is small, make half the recipe twice.
It is usually over-processing. Pulse in short bursts and stop while the pieces are still visible. Seeding tomatoes and draining extra juice also helps.
Store it in an airtight container in the fridge and use it within 3 days. Press plastic wrap on the surface to slow browning.
It is best not to. Ice and frozen blocks can dull the blade and strain the motor, and hot food can build steam under the lid. Let cooked food cool first, and follow your manual.