Cart
0
Complete Your Setup




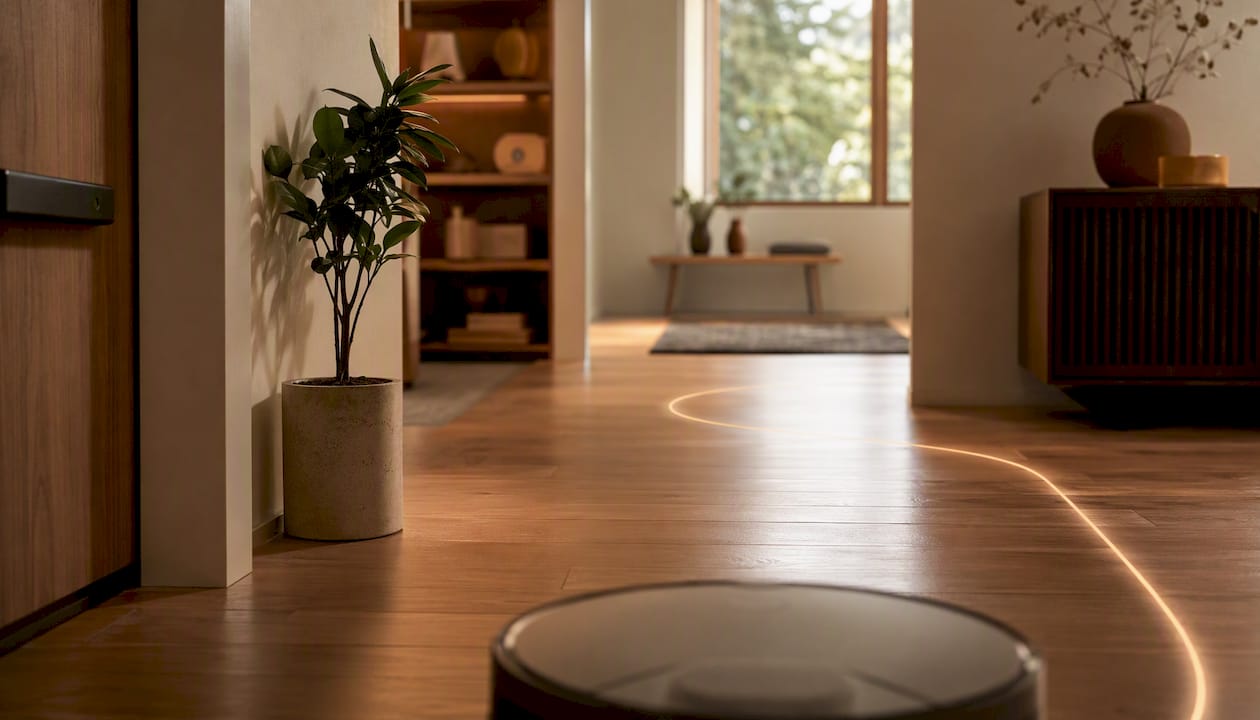
Robot vacuum mapping is the system that builds a digital floor plan of your home so your robot can clean every room efficiently, follow a reliable schedule, and respect the rules you set. Instead of bouncing randomly from wall to wall, a mapping-capable robot uses SLAM (Simultaneous Localization and Mapping) to track its own position while drawing the layout around it, producing a saved map you can customize in an app.
The practical payoff is real:
The two dominant sensor technologies behind smart mapping are LiDAR (laser-based distance sensing) and camera-based vSLAM (Visual SLAM). Sabezon’s FloorPilot™ Smart Robot Vacuum uses LiDAR navigation, which is covered in detail below.
A mapping-capable robot vacuum is worth buying for any multi-room home where you want scheduled, unattended cleaning with room-level control.
| Point | Details |
|---|---|
| SLAM is the core technology | Robot vacuums build maps and track position simultaneously using sensor fusion and odometry. |
| LiDAR vs. vSLAM trade-off | LiDAR maps in darkness with 1–5 cm accuracy; vSLAM suits slimmer robots needing visual landmarks. |
| First mapping run matters most | Clear floors, open all doors, and never move the robot mid-run to get a reliable map. |
| App controls add real value | Keep-out zones, no-mop zones, and room-level schedules depend entirely on a saved, accurate map. |
| Sabezon FloorPilot™ | LiDAR-enabled with multi-floor maps, keep-out zones, and a self-emptying dock for hands-free cleaning. |
Robot vacuum mapping relies on SLAM, a technique that solves a classic problem: you need a map to know where you are, but you need to know where you are to build a map. SLAM handles both at once by maintaining a running probabilistic estimate of the robot’s position and the floor plan simultaneously, updating both with every new sensor reading.
Each sensor type plays a specific role:
SLAM fuses all of these inputs using graph-based or particle-filter algorithms. When the robot returns to a previously mapped area, it performs loop closure, comparing the current sensor reading against stored data to correct any accumulated drift. That correction is what keeps the map accurate after dozens of cleaning runs.
Once a map exists, the robot uses it for coverage path planning, typically following a boustrophedon pattern (parallel back-and-forth lanes, like mowing a lawn). When furniture moves, the robot detects the change mid-run and updates the map rather than getting stuck.
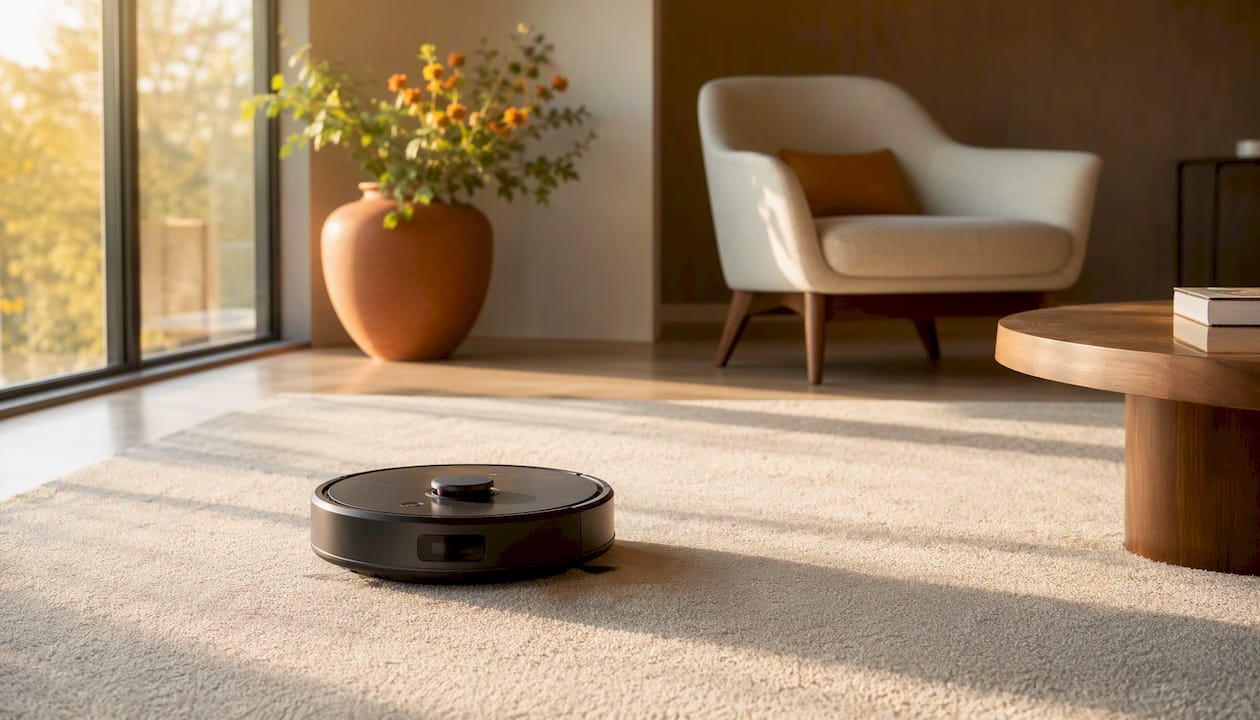
Pro Tip: LiDAR robots can map and clean in a completely dark room, which is useful for overnight schedules. Camera-based models need at least low ambient light to identify visual landmarks, so leave a nightlight on if you run them after midnight.
The single most important step is running a dedicated mapping run with clear floors and open interior doors. A standard cleaning job can produce a usable map, but a purpose-built mapping run gives SLAM the uninterrupted time it needs to discover the full layout without stopping to clean.
Manufacturer guidance consistently recommends clearing floors, opening all interior doors, and avoiding any interference with the robot during this first run to protect the integrity of odometry and SLAM calculations. If you are also preparing your home for a larger refresh, clearing floors before any home project applies the same logic: a clean, unobstructed space produces better results every time.
Mapping run times vary by home size and obstacle density. Smaller single-floor homes typically map within a reasonable time frame, while larger homes with many rooms or heavy furniture may take longer. Homes where the robot needs to recharge mid-run can require additional time to relocalize and continue.
Mapping run tip: For camera-based robots, run the mapping session during the day with natural light on. For LiDAR models, time of day and lighting do not affect map quality, but a clutter-free floor always does.
Modern companion apps turn a saved floor plan into a practical cleaning tool. Once your map is saved, you get direct control over how, when, and where the robot cleans.
Companion apps from manufacturers like iRobot document these features in detail, including Imprint Smart Map controls for room naming, zone drawing, and multi-floor map management.
One privacy note: LiDAR maps are geometric point clouds with no visual imagery. Camera-based systems may capture image frames to identify obstacles, so check your robot’s privacy settings and data-sharing options in the app if that matters to you.
Mapping robots are worth it for multi-room homes, unattended schedules, and complex layouts. A no-mapping model can work fine in a small, open-plan studio where random coverage eventually reaches every corner.
| Feature | Mapping robot | No-mapping robot |
|---|---|---|
| Coverage efficiency | Systematic parallel lanes; fewer missed spots | Random bounce pattern; may repeat or miss areas |
| Unattended reliability | High; follows saved map and zones | Moderate; no zone enforcement |
| Room-level scheduling | Yes, via app | No |
| Cost | Mid to premium | Entry level |
| Maintenance burden | Sensor cleaning required | Simpler; fewer sensors to maintain |
| Under-furniture access | Varies by sensor type (LiDAR adds height) | Often slimmer profiles |
Which situation fits you?
For most homeowners with more than two rooms, the scheduling and zone control alone justify the step up to a mapping model.
Most mapping failures trace to four causes: an interrupted first run, dirty sensors, a moved dock, or major furniture changes. Work through these steps before contacting support.
Pro Tip: You can tell the difference between an odometry failure and a SLAM failure by watching the robot’s path. If it drives in a straight line but the app map shows a curved path, odometry (wheel slip or IMU error) is the issue. If the robot physically wanders in circles or doubles back unexpectedly, SLAM localization has lost its reference — clean the sensors and remap.
For camera-based robots, if your model has an obstacle-review feature that stores images, check the app’s privacy settings to control how long images are retained and whether they are uploaded to the cloud.
The navigation sensor type is the single most important decision. Everything else follows from it.
Shopping checklist:
For complementary spot cleaning alongside your robot, the VacuumPilot™ Cordless Stick Vacuum handles stairs, upholstery, and areas the robot cannot reach.
Expected features by budget tier:
| Budget tier | Typical navigation | Map features | Obstacle recognition |
|---|---|---|---|
| Entry (budget) | Gyroscope or basic IR | Single map, limited zones | None or basic bump |
| Mid range | vSLAM or basic LiDAR | Multi-room, keep-out zones | Basic object avoidance |
| Premium | LiDAR + hybrid camera/AI | Multi-floor, no-mop zones, routines | Named object recognition |
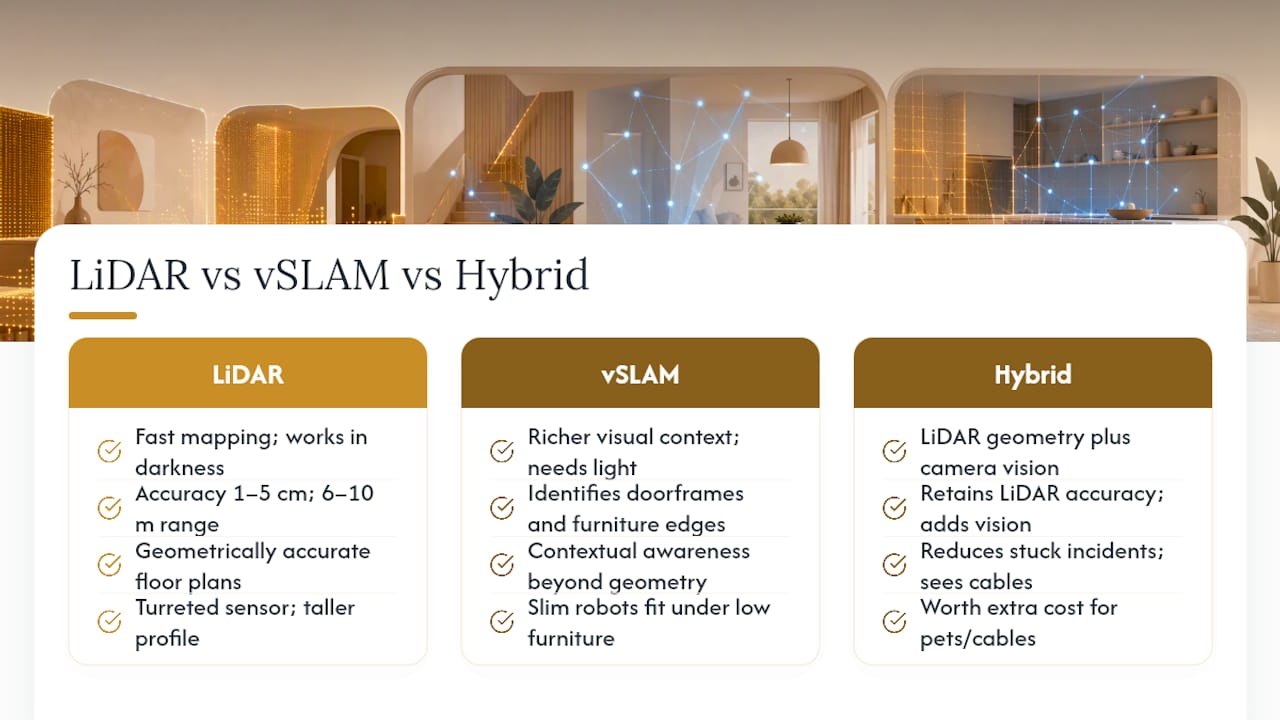
LiDAR maps faster and works in complete darkness; vSLAM gives richer visual context and typically comes in slimmer robots that fit under low furniture. That one-line summary holds up across most real-home scenarios, but the details matter.
Premium consumer LiDAR units achieve distance accuracy in the range of 1–5 centimeters and cover room-scale distances of roughly 6–10 meters per scan, which is more than enough for any residential room. That precision means the saved floor plan is geometrically accurate, and the robot can return to a specific zone reliably run after run.
vSLAM identifies visual landmarks like doorframes and furniture edges, which gives the robot contextual awareness that pure geometry cannot. It also allows for a lower robot profile since there is no turreted sensor on top, making it the better choice for homes with sofas or beds that sit close to the floor.
Pro Tip: If your home has pets, loose cables, or you run the robot unattended overnight, a hybrid system (LiDAR for geometry plus a camera for object recognition) is worth the extra cost. Hybrid models reduce stuck incidents significantly because the robot can identify a cable as a cable rather than just an obstacle to bump into.
Optical cleanliness matters for both technologies. A dusty LiDAR window scatters the laser and produces noisy distance readings; a smeared camera lens degrades landmark recognition. Wipe both monthly with a dry microfiber cloth. Never use liquid cleaners directly on either sensor surface.
Sabezon recommends a mapping-capable vacuum for any home with more than two rooms or anyone who wants reliable unattended cleaning on a schedule. Random-navigation robots work, but they cannot tell the kitchen from the bedroom, and they cannot be told to stay away from the dog’s water bowl.
The FloorPilot™ is Sabezon’s answer for homeowners who want LiDAR precision without a complicated setup. It handles multi-floor maps, keep-out zones, and app-based routines in a straightforward package. For most households, that combination covers every practical need a mapping robot should meet.
The FloorPilot™ Smart Robot Vacuum pairs LiDAR navigation with a self-emptying dock, giving you a robot that maps accurately, cleans systematically, and empties itself so you do not have to.
Key mapping features:
The FloorPilot™ is available on Sabezon’s smart cleaning collection. If you want a robot that maps your home reliably, follows the rules you set, and runs on a schedule without supervision, it is a practical, well-priced option to check out.
These references cover SLAM fundamentals, sensor comparisons, and manufacturer mapping guides used throughout this article.