Cart
0
Complete Your Setup




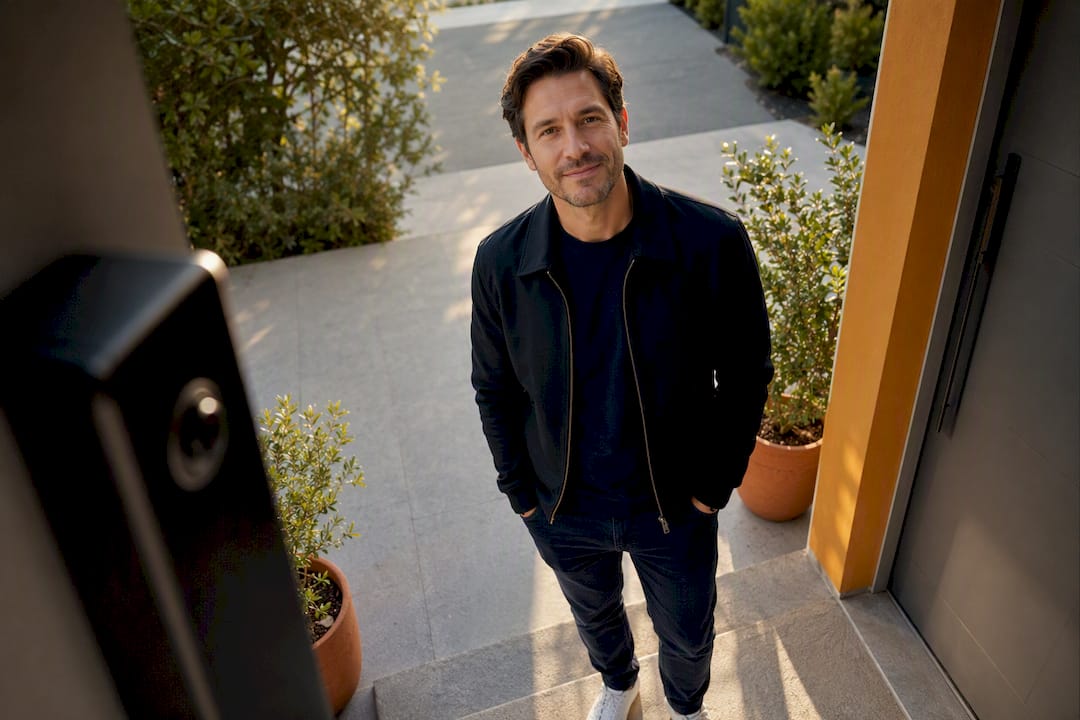
Mount your doorbell camera 48 to 54 inches high with a 10 to 15 degree downward tilt. That chest-to-face range catches visitors clearly and still shows the porch floor for packages. If your entryway is recessed, angled, or on a side wall, don’t raise or lower the camera to compensate. Add a wedge or corner mount instead and keep the height where it belongs.
TL;DR:
- Mount the doorbell camera at 48 to 54 inches with a 10 to 15 degree downward tilt to optimize face capture and porch view.
- Use wedges or angled mounts suited for recessed, side-wall, or stair approaches instead of raising or lowering the base height.
- Test the live view with a person standing at normal greeting distance and adjust until faces are centered in the upper-middle third of the frame.
- Clear obstructions like plants, mailboxes, or overhangs seasonally to avoid blind spots that compromise footage.
- Regularly wipe the lens and verify the angle, especially after weather events or modifications, to maintain clear night and day footage.
That 48 to 54 inch range isn’t a guess. It’s the sweet spot where most adult faces land square in the frame without the camera pointing so far down that it misses anyone taller than average.
The baseline: Mount height of 48 to 54 inches, paired with a 10 to 15 degree downward tilt, balances face capture with a view of the doorstep.
Swann’s own installation guidance lands in the same neighborhood, recommending chest height, roughly 3.9 to 5.2 feet, and Ring’s placement guides point to a similar 48 inch starting point for most front doors. Three sources, one consistent answer.
Here’s the part homeowners skip: field of view specs on the box don’t tell the whole story. A camera advertised with a 160 degree horizontal field of view sounds great, but wider isn’t automatically better. Stretch that view across a wide porch and each visitor’s face occupies fewer pixels, which hurts identification even though the camera is technically “seeing more.”
Use these rules of thumb before you touch a drill:
Most angle problems trace back to one of four porch layouts, and each one has a fix that costs less than a service call.
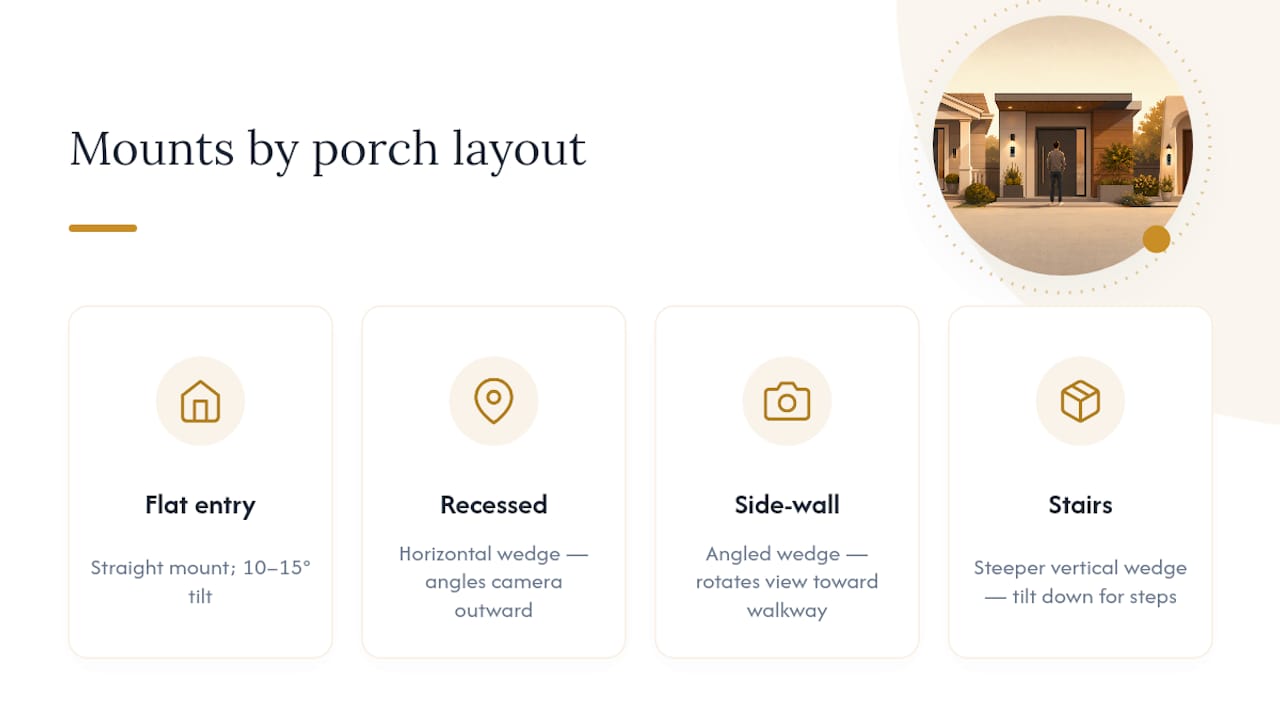
A flat, unobstructed entry rarely needs any accessory. Straight mount, 10 to 15 degree tilt, done. A recessed doorway, where the door sits back from the exterior wall, usually needs a horizontal wedge to angle the camera outward so it isn’t just filming the inside of an alcove. A side-wall installation, common on covered porches or when the doorbell sits beside the door rather than centered on it, calls for an angled wedge that rotates the whole field of view toward the walkway. Homes with stairs leading up to the door benefit from a steeper vertical wedge that tilts the camera down further to keep the steps and any packages in frame.
Accessory kits typically stack in 15 degree increments, and stacking two wedges can shift your effective angle by 30 degrees or more. Some adjustable mount kits on the market advertise horizontal swings of 30 to 55 degrees, which covers almost any side-approach layout without needing a specialty bracket.
Pro Tip: Start with the cheapest single wedge before buying a multi-angle corner kit. Simple stairs and forums report that a small tilt correction often solves the problem that homeowners assumed needed a full corner-mount replacement.
Skip the expensive corner kit unless you’re dealing with a genuinely awkward corner entry or a doorway set at an angle relative to the street. For everything else, one wedge usually gets you there.
A good install is a process, not a one-shot guess. Work through it in order and you’ll avoid the most common rework: drilling holes, mounting the camera, and only then discovering the angle is wrong.
That last step matters more than it sounds. If you ever swap the camera or reinstall after siding repair, you won’t have to relearn your own porch geometry from scratch.
Your exterior material decides your hardware, not your preference. Wood trim takes standard screws easily. Brick and stucco need masonry anchors and usually a pilot hole with a masonry bit, and if you’re not confident drilling into brick without cracking it, that’s a fair call to bring in a handyman for 20 minutes of work.
Vinyl or fiber cement siding often benefits from a mounting plate that spans the siding’s ridges, since a mount screwed directly into a ridge can sit unevenly and throw off your angle before you even start adjusting.
A steep downward tilt that looks fine in daylight can wreck your night footage. Infrared illumination projects in a cone, and pointing that cone too far down shrinks the illuminated area right around the doorstep while leaving the approach path dark.
Pro Tip: Test your night setup around dusk when porch lights and ambient light overlap. That’s when most glare and washout problems actually show up, not at full dark.
Every doorbell angle decision eventually comes down to this trade-off, and most homeowners get it backward. They tilt the camera down hard to catch packages sitting on the doormat, then wonder why every visitor’s face is a blur of forehead and hairline.
Face identification should win by default. A clear face tells you who rang the bell, whether it’s a delivery driver, a neighbor, or someone you don’t recognize. A perfect view of a package sitting on the mat tells you a package is there, which you’ll usually confirm by walking to the door anyway.
The fix isn’t choosing one over the other completely. It’s sequencing your adjustment correctly. Set your tilt to capture faces first, in that upper-middle third of the frame at your normal greeting distance. Then check what’s visible at the bottom of the frame. If the doormat and immediate threshold are cut off, a wedge correction or a few extra degrees of tilt usually recovers package visibility without pushing faces out of frame.
If your porch is deep or your packages tend to land several feet from the door, no single angle will catch both perfectly. In that case, some homeowners add a second low-angle camera aimed specifically at the drop zone, while the main doorbell camera stays locked on face capture. It’s a reasonable compromise for porches where couriers regularly leave packages off to the side rather than directly under the camera.
Blind spots almost always come from one of two mistakes: centering the camera without checking the actual walkway angle, or fixating on vertical tilt while ignoring horizontal rotation entirely.
Vertically, your 10 to 15 degree downward tilt should put the horizon line near the top third of the frame, not dead center. That keeps enough sky or overhang visible to judge weather and lighting conditions while dedicating most of the frame to the door and approach.
Horizontally, center the camera on the actual walkway, not the geometric center of your door or porch. On many homes those two lines don’t match, especially when a driveway or path approaches the door at an angle rather than straight on. If your walkway curves in from one side, rotate the camera a few degrees toward that approach rather than pointing it straight out from the wall.
Check three zones before you call the install finished: the immediate threshold where someone would stand to ring the bell, the mid-range approach path where you’d first see someone walking up, and the wider yard or driveway edge where a car might pull in. Missing any one of these creates a gap where activity goes unrecorded even though the camera is technically “on” and recording. A camera that nails the threshold but misses the approach path will still surprise you with visitors who seem to appear out of nowhere in the footage.
A perfectly angled camera still fails if a shrub, mailbox, or roofline sits in the way. These obstacles cause more blind spots than bad angle math ever does, and they’re often the easiest problems to fix.
Overgrown plants near the entry are the most common culprit. A bush that seemed fine when you installed the camera in spring can block half the frame by late summer. Walk your actual sightline every few months, not just at install, and trim anything encroaching on the walkway view.
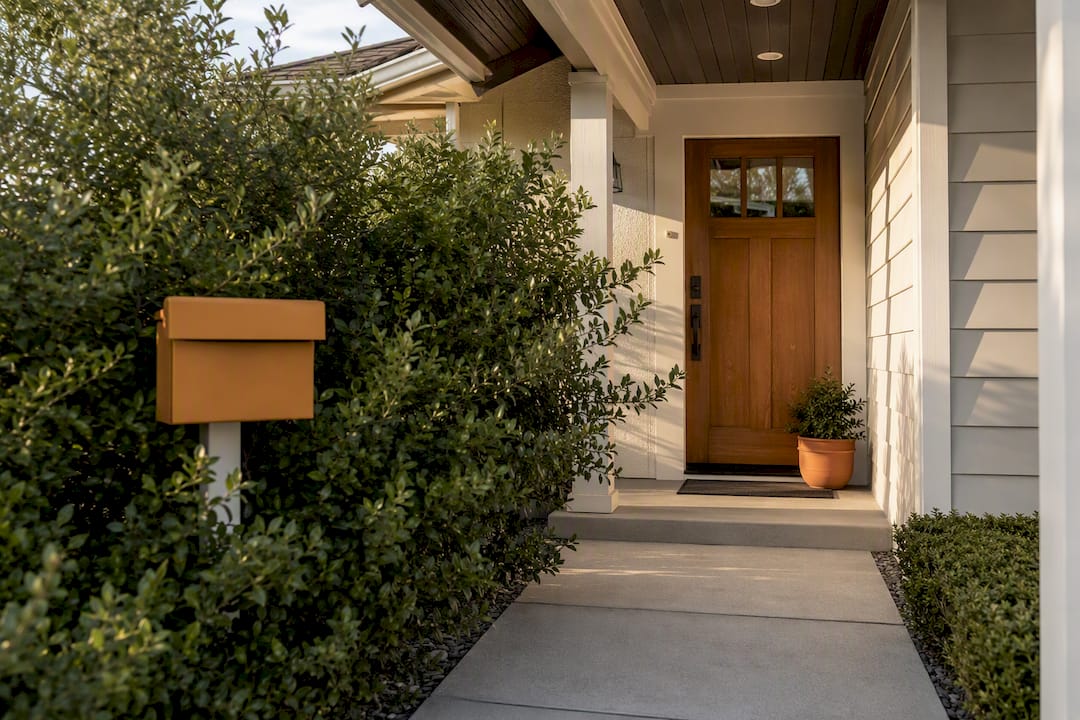
Mailboxes mounted near the door create a different problem: they don’t block the view outright, but they give visitors and porch pirates alike a reason to stand just outside your frame while checking the box. If your mailbox sits at the edge of the camera’s horizontal field of view, consider whether a slightly wider angle, or moving the mailbox itself, brings it fully into frame.
Overhangs and awnings cause the sneakiest issue: they don’t block the camera’s view of the ground, but they can clip the top of the frame in a way that cuts off tall visitors or delivery drivers reaching up to ring the bell. If your porch has a deep overhang, that 10 to 15 degree tilt might need to shift toward the higher end of the range to compensate, since the overhang itself is already doing some of the “look down” work for you.
Run this check seasonally: stand at your typical greeting distance and see if anything, plant growth, a parked car, a newly installed fixture, has crept into the frame since your last check.
Rain, snow, and dust don’t change your angle setting, but they can make a perfectly aimed camera useless if the lens itself gets dirty or fogged. The fixes are simple, but they need to work with your angle, not against it.
A slight downward tilt actually helps here. Rain sheds off an angled lens cover faster than a flat one, which is one more reason the 10 to 15 degree range beats mounting the camera perfectly level. If your camera includes a small hood or overhang above the lens, make sure your final tilt doesn’t point the lens up into that hood’s shadow, since that can create a dark band across the top of your footage.
Wipe the lens monthly, more often in dusty or high-pollen areas, since even a light film noticeably softens image clarity long before it’s visible to the naked eye. In snow climates, check the lens after any storm. Snow clinging to the housing can partially block the frame in a way that’s easy to miss until you review a clip and realize the last few inches of footage on one side are just white.
If your model supports a hood or half-shell accessory, that add-on typically doesn’t change your effective angle, but confirm your tilt clears it before locking down the final mount.
Double doors and storm doors each create their own version of the same problem: extra glass, extra frame, and more room for the camera to end up pointed at the wrong thing entirely.
With double doors, the mistake is centering the camera on the full width of both doors instead of the door that’s actually used for entry. Most households only open one side day to day, so center your horizontal angle on that functional door and its approach, not the midpoint between both doors.
With storm doors, the biggest issue is glare and distortion from shooting through glass. A camera mounted to angle straight through storm door glass often picks up reflections of the porch light or the sky, washing out faces right when you need them most. Angling the camera even five degrees off a direct line through the glass, using a thin wedge if needed, usually clears up most of that reflection.
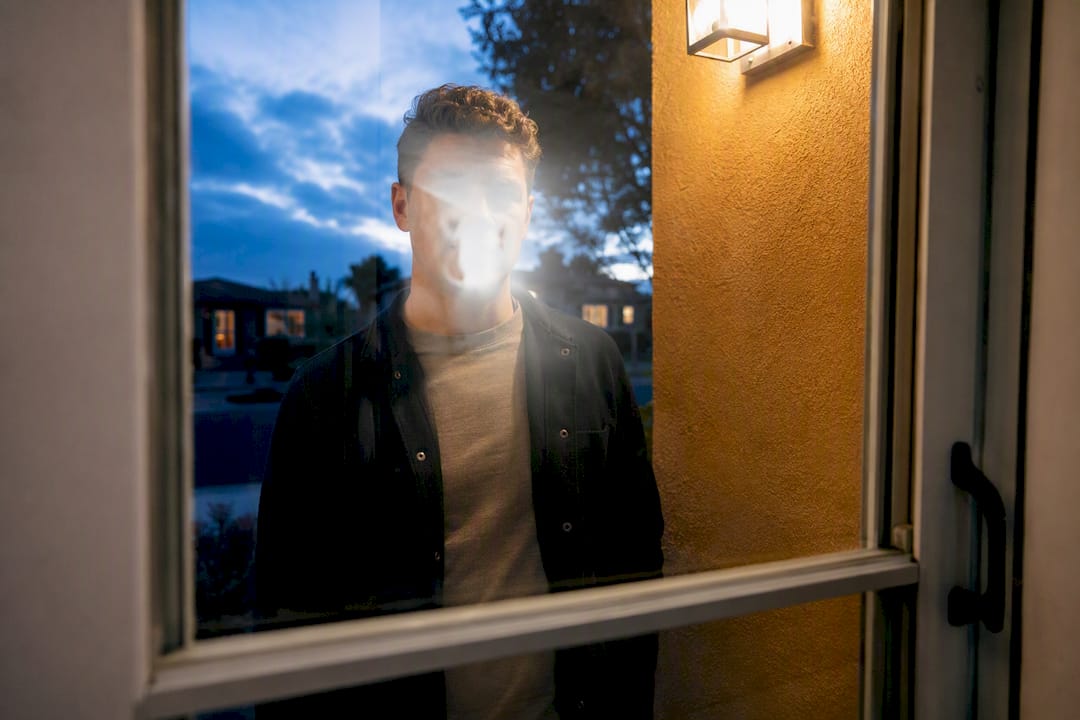
A second storm door mistake: mounting the camera on the storm door frame itself rather than the house’s exterior wall or door frame. Storm doors flex slightly every time they open and close, which can nudge your carefully set angle out of alignment within weeks. Mount to the fixed structure whenever possible, even if it means a slightly longer wire run or a small spacer to clear the storm door’s swing.
Homeowners who stay happy with their setup almost never chase a perfect spec sheet. They make one or two angle corrections, confirm the view looks right in live mode, and move on with their day. The ones who struggle are usually still fiddling with tilt six months later, chasing a theoretical ideal that doesn’t exist on their actual porch.
Write down your final height and tilt somewhere you’ll find it again. A sticky note in a kitchen drawer works fine. And keep your mount accessible enough for quick battery swaps or a lens wipe, since a great angle you can’t easily maintain will drift back to a bad one. In most cases, a small retrofit wedge fixes the majority of real-world angle complaints without any other changes.
— Tony
Getting the geometry right shouldn’t require three trips to the hardware store and a return box full of mismatched wedges. That’s the gap Sabezon’s Entryx™ Smart Doorbell Camera is built to close: an adjustable mount designed for exactly the height and tilt guidance covered here, with a live-view app that lets you confirm your angle before you commit to permanent screws.

If you’re not sure your current wiring or chime setup will play nice with a new install, Sabezon’s doorbell chime compatibility guide walks through what to check first. And if you’re planning a broader entryway upgrade rather than a single camera swap, the smart home tech collection covers compatible accessories worth pairing with your install.
Ready to stop guessing at wedge angles and start with hardware designed for this exact problem? Check the Entryx™ product page for current mount options and confirm it fits your door type before you drill a single hole.
For deeper model-specific guidance, Simple Smart Home’s angle breakdown and Ring’s official placement guide both offer useful, practical detail worth reviewing before your install.