Cart
0
Complete Your Setup




Pair your controller through the app or scan its QR code, connect it to a dedicated 2.4 GHz IoT network, and setup can be completed quickly. Firmware that hasn’t been updated and connecting to the wrong band cause most failed setups, not bad hardware. Sabezon builds its Wi-enabled controllers around this exact flow, with install guides that walk you through it step by step.
TL;DR:
- Ensure your router supports or is configured to broadcast a dedicated 2.4 GHz network, as most IoT devices rely on this band for reliable connection.
- Update your router’s firmware before starting setup to avoid pairing failures caused by outdated software.
- Confirm your device is connecting to the 2.4 GHz network, not the 5 GHz band, especially if band steering is enabled, to prevent disconnects.
- Use the appropriate commissioning method—app pairing, QR code scan, or temporary access point—based on your controller model to streamline installation.
- Create a separate IoT or guest network and consider DHCP reservations to maintain consistent IP addresses and improve long-term stability.
A little prep saves you a lot of frustration. Most setup failures trace back to something simple that got skipped before the app ever opened, and five minutes of prep now beats twenty minutes of troubleshooting later.
Here’s what to gather and check first:
Every consumer controller uses one of three commissioning methods. Know which one yours needs before you start, and the whole process feels a lot less like guesswork.
Method 1: App pairing (most common)
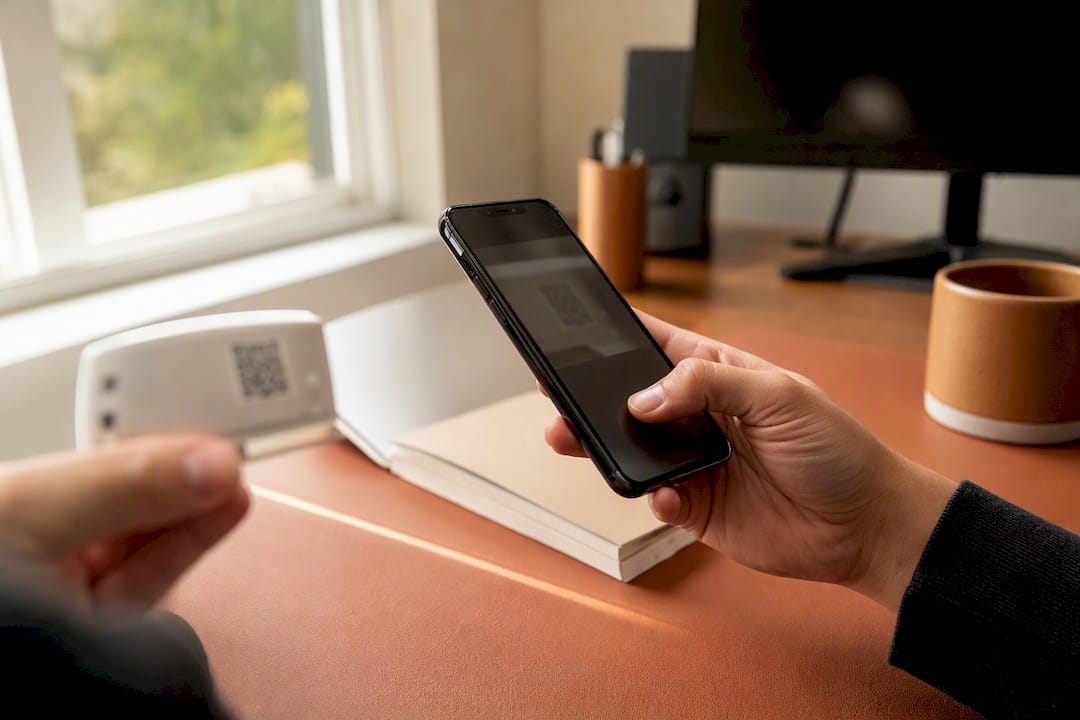
Method 2: QR-code commissioning
Scan the QR code printed on the device or the quick-start card, and the app auto-fills the model number and pairing details for you. This shaves real time off setup. QR-code onboarding typically finishes faster than typing everything in by hand, mostly because it skips the model-lookup step entirely., mostly because it skips the model-lookup step entirely.
Method 3: Manual temporary access point method
Some controllers, especially budget hubs, broadcast their own temporary Wi-Fi network during setup. Put the device in pairing mode, connect your phone directly to that temporary network, then enter your home Wi-Fi credentials inside the app. Confirm the device has rejoined your home network before you close the app. This method works well when Bluetooth pairing isn’t available or your phone can’t find the device otherwise.
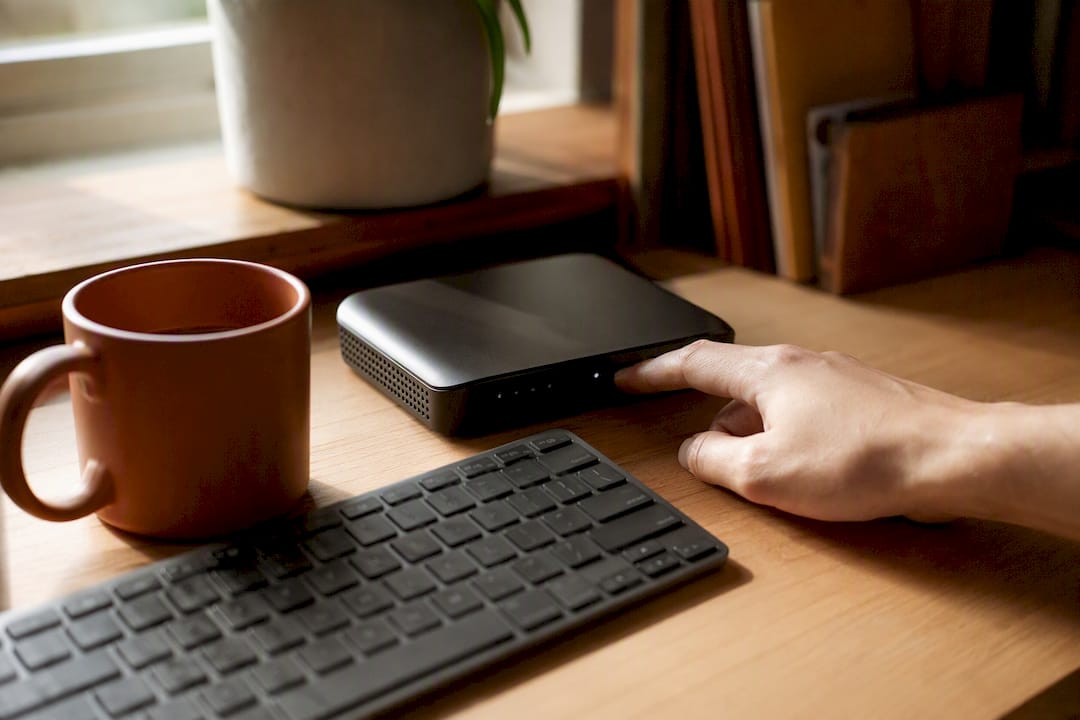
Pro Tip: Add just one smart plug or controller first before provisioning your whole house. If something’s misconfigured on your network, you’ll catch it on device one instead of chasing the same error across ten devices.
Your router settings decide whether your controller stays connected for years or drops out every few days. Most of what matters here takes five minutes to configure once.
Most controller problems fall into a short list of usual suspects. Work through these in order before you assume the device is defective.
Skipping security setup on a Wi-Fi controller is like leaving your front door unlocked because the alarm system worked fine yesterday. It’s easy content to ignore right up until it isn’t.
Pro Tip: Write your IoT network password somewhere permanent, like a password manager note. You’ll need it every time you add a new device, and retyping a router’s default 24-character password from memory gets old fast.
Getting your controller talking to Alexa, Google Home, or Apple Home usually takes less time than the initial Wi-Fi setup did.
Cloud-dependent devices stop responding the moment your internet drops, even if your home network is fine. Local-first devices, and increasingly Matter-capable ones, keep working on your home network regardless. If you’re buying new gear, Matter compatibility is worth checking for.
After your controller joins your home network, most apps walk you through a short configuration wizard before handing you the main dashboard. This is where you turn a generically paired device into one that actually fits your home.
The wizard typically starts by asking you to name the device, something specific like “Garage Door” or “Patio Lights” rather than the factory default of “Device_4471.” Vague names are how households end up with three unlabeled switches nobody wants to touch. Next, you’ll usually assign the device to a room or zone within the app, which matters more than it sounds. Grouping by room is what lets you say “turn off patio lights” through a voice assistant instead of naming every device individually.
Most wizards then prompt you to check for a firmware update immediately after pairing, separate from the router-level update you did earlier. Let it finish before you start building automations. A controller mid-update can behave erratically or drop offline for a minute, which looks like a failure but isn’t.
Finally, review the notification settings. Default configurations often push every state change to your phone, which gets old fast. Dial notifications down to only what matters, like a garage door left open, and leave the rest silent.
A Wi-Fi controller doesn’t operate in isolation. It sits on the same network as your router’s DHCP server, which hands out its local IP address, and potentially behind a switch if your home network has expanded beyond what the router’s built-in ports handle.
For most homeowners, DHCP handles this automatically. Your router assigns the controller an IP address the moment it joins the network, and you never think about it again. The one adjustment worth making is a DHCP reservation, which tells your router to always give that specific controller the same IP address. Without one, your controller’s address can shift after a router reboot, breaking any automation or app shortcut that referenced the old address directly.
If your home network runs through a managed switch rather than connecting devices straight to the router, make sure the switch port your access point or hub uses isn’t restricted by VLAN tagging meant for a different segment of your network. This mostly applies to homes with more elaborate setups, security systems, or NAS drives, but it’s worth a quick check if a controller connects fine to Wi-Fi yet still can’t reach your app.
Authentication servers are rare in home setups. That’s an enterprise concept. Most consumer controllers authenticate directly against your router’s Wi-Fi password, nothing more elaborate required.
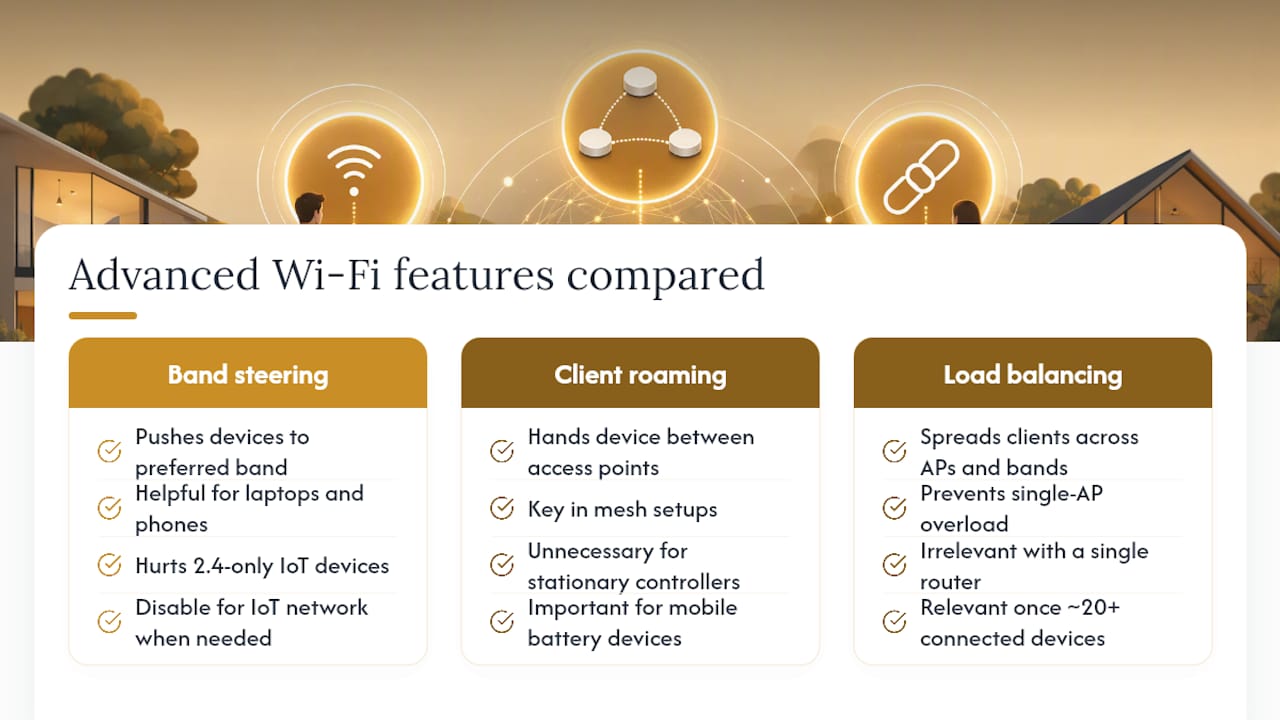
These three features live in your router’s advanced settings, and each one can help or hurt your controller depending on how it’s configured.
Band steering automatically pushes dual-band devices toward whichever band, 2.4 GHz or 5 GHz, your router thinks performs better. For laptops and phones, that’s usually helpful. For cheap IoT controllers that only support 2.4 GHz, band steering can cause repeated disconnects as the router keeps nudging a device toward a band it can’t use. If your controller drops randomly after initially pairing fine, this setting is worth disabling for your IoT network specifically.
Client roaming matters most in mesh setups with multiple access points. It’s the feature that lets a device hand off from one node to another as it moves through the house, or as signal strength shifts. Stationary controllers like garage door openers or irrigation hubs rarely benefit from roaming since they never move, but it matters a lot for anything battery-powered that travels between rooms.
Load balancing spreads client connections across multiple access points or bands to avoid overloading any single one. Most homes with just one router and a handful of smart devices won’t notice a difference either way. It becomes relevant once you’re running 20 or more connected devices, which is common in fully built-out smart homes with cameras, sensors, and multiple controllers running simultaneously.
Most consumer Wi-Fi controllers store their configuration, device names, automations, room assignments, in the manufacturer’s cloud account rather than locally on the device itself. That’s good news if your controller dies or gets replaced: log into the same app account on a new unit, and your settings often reappear automatically.
Still, it’s worth checking whether your specific app offers a manual backup or export option, usually buried in account or advanced settings. Some apps let you export your automation rules as a file you can keep separately, which matters if you’re planning to switch networks, move homes, or reset the device for troubleshooting.
Before any factory reset, take two minutes to screenshot your automation rules and device names if there’s no formal backup option. It’s a low-tech solution, but it beats trying to remember exactly how you configured a sprinkler schedule six months after you set it up. Router-level backups matter here too. Most routers let you export their configuration file before a firmware update or factory reset, protecting your custom network name, IoT SSID, and password settings from getting wiped by an update gone wrong.
Once you’ve got more than a handful of smart devices running, your router’s client list becomes a genuinely useful tool rather than a page you never open. Most router apps and web interfaces show every connected device, its assigned IP address, and how much bandwidth it’s using in real time.
Checking this list periodically catches problems early. A controller that’s dropped offline shows up as disconnected before you notice your automations have quietly stopped working. An unfamiliar device name is worth investigating immediately, since it could mean a neighbor guessed a weak Wi-Fi password.
Many router apps also let you set bandwidth limits or pause internet access for specific devices, which is handy if a single camera or hub starts misbehaving and flooding your network with traffic. For households with a lot of connected gadgets, this client view is often the fastest way to spot which device is causing a slowdown without unplugging everything one at a time to isolate the culprit.
Power over Ethernet lets a single cable deliver both data and electricity to a device, which matters mostly if you’re adding a dedicated access point rather than relying on your router’s built-in Wi-Fi. Most homeowners setting up a single smart plug or garage door controller will never touch PoE. It becomes relevant when you’re mounting an access point somewhere without a nearby outlet, like an attic, garage ceiling, or outdoor eave.
If you do go this route, you’ll need either a PoE-capable switch or a standalone PoE injector between your router and the access point. Confirm the access point’s power requirement (commonly labeled 802.3af or 802.3at) matches what your switch or injector actually delivers. Mismatched PoE standards are a quiet but common reason a newly mounted access point simply won’t power on.
For the vast majority of Wi-Fi controller setups covered in this guide, though, PoE simply isn’t a factor. Your controller plugs into a standard outlet and talks to your existing Wi-Fi network wirelessly.
The setups that go smoothly share a few habits. Mount height matters more than people expect. A controller tucked behind a router or buried in a cabinet loses signal fast, so give it a clear line toward your access point. Naming devices consistently the moment you add them, “Garage Door” instead of “Device 1”, saves real confusion once you’ve got a dozen gadgets running. Pre-staging firmware updates before pairing anything new avoids the single most common support question we see.
Most installs genuinely take under 15 minutes. If you’re past 30 minutes and still stuck, that usually means a router setting, not the controller, is the actual problem. Our home tech installation guide covers model-specific steps if you want to work through it in more detail.
— Tony
Sabezon builds Wi-enabled controllers around exactly the setup process covered here: app pairing, QR-code commissioning, broad platform compatibility, no enterprise networking knowledge required.
If you’ve read this far, you already know what makes a controller setup smooth: the right band, a clean network, and hardware that doesn’t fight you during pairing. That third piece is where a lot of budget controllers quietly fall short, with apps that stall mid-setup or firmware that never gets updated. Sabezon’s smart home tech collection is built around the commissioning flow this guide walks through, with QR-code setup and 2.4 GHz compatibility out of the box. Browse the full Sabezon storefront to see current controllers and smart home gadgets, or head straight to a product page to check compatibility with your existing setup before you buy.
For readers who want more detail beyond this guide, a few outside resources are worth bookmarking: Smart Home Picklist’s Wi-Fi connection guide covers device-specific onboarding, Technology Tips Online’s hub setup walkthrough breaks down first-time hub pairing, and Home Auto Central’s Wi-Fi guide dives into mesh architecture and troubleshooting. For comparing full smart home ecosystems, this overview of smart home management systems is a solid starting point.