Cart
0
Complete Your Setup






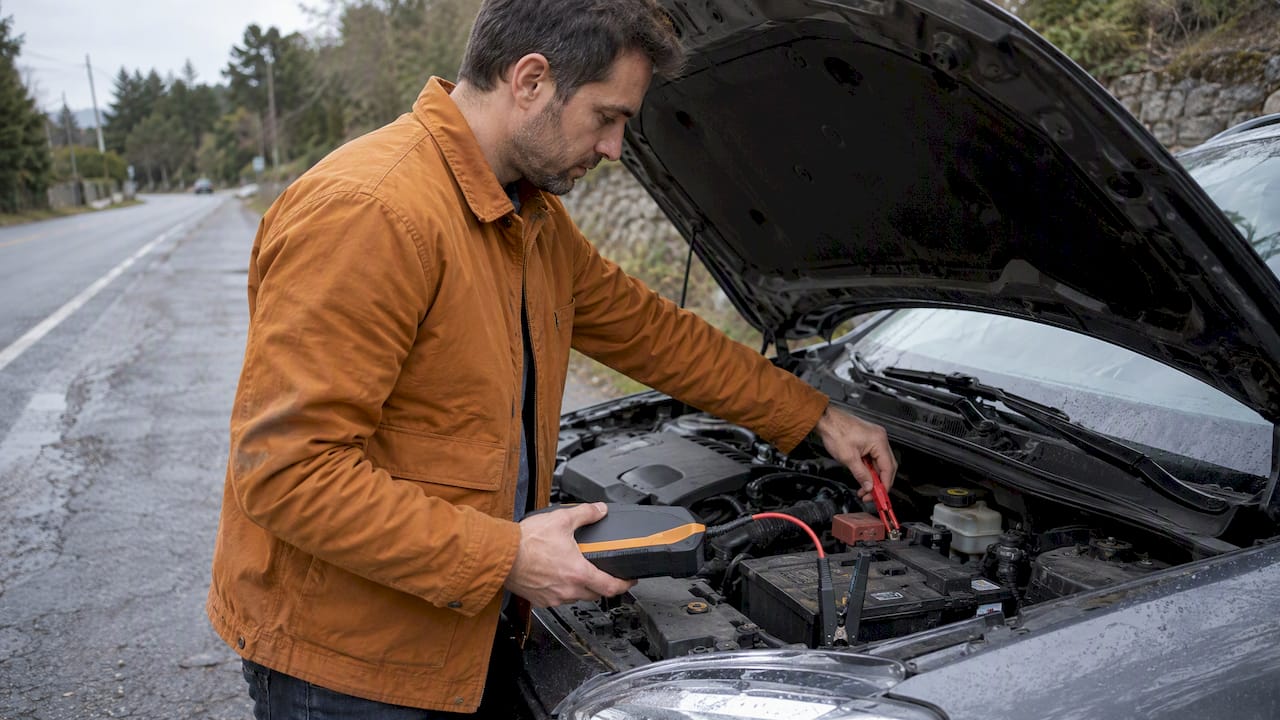
To start a car with a portable jump starter: connect the positive clamp to the positive terminal, attach the negative clamp to an unpainted metal grounding point, turn the jump starter on, start the engine, then disconnect in reverse order. That’s the whole job in one sentence. The details matter, though, because doing it out of order can damage your car’s electronics or cause a spark near a battery that vents flammable gas.
TL;DR:
- Properly connecting clamps in the correct order reduces the risk of sparks, battery damage, and ignition of flammable gases near the battery.
- Always disconnect the negative clamp first and the positive last after the engine starts to prevent accidental sparks or electrical shorts.
- Store and recharge your jump starter regularly, especially in cold weather, to ensure it remains reliable during emergencies.
- Use open, ventilated spaces and remove jewelry before jump-starting to minimize risks from hydrogen gas emissions or electrical conduction.
- If the engine fails to start after proper connection, check clamp tightness and battery condition rather than repeatedly trying to jump-start, which can worsen the problem.
Before you touch a single clamp, set the scene. Park on level ground, set the parking brake, and turn off the ignition along with every electrical accessory: headlights, radio, phone chargers, all of it. A dead battery with the radio still trying to draw power makes your job harder.
Next, check your jump starter itself. Make sure it’s charged, and take thirty seconds to glance at its manual since clamp order and power buttons vary slightly by model. Then find your battery terminals. Some vehicles hide the battery under a panel and use remote jump-start posts instead, usually marked with a small red or black cap under the hood. If you see white, crusty buildup on the terminals, that’s corrosion, and it can block a clean connection.
Here’s the full sequence, in order:
This order isn’t arbitrary. Grounding the negative clamp away from the battery itself reduces the chance of a spark igniting hydrogen gas near the battery, according to step-by-step guidance from Popular Mechanics. If the engine doesn’t start on the first try, give it a short rest rather than cranking repeatedly. Repeated hard attempts strain both the starter motor and the jump starter’s internal cells.
Pro Tip: Keep the jump starter switched off until both clamps are secured. Flipping it on first invites a spark right at the clamp tips.
Once the engine is running, disconnect calmly. Remove the black clamp first, then the red one, and stow the unit somewhere it won’t roll around or short against metal tools.
A dead battery looks harmless, but lead-acid batteries can release hydrogen gas, which is flammable in the right conditions. Work in an open, ventilated space rather than a sealed garage, and keep the following in mind before you make contact with a single terminal.
Lithium-ion jump starters have been the subject of safety recalls over overheating and fire risk, including a CPSC recall of portable jumpstart units sold for this exact purpose. That’s a good reason to buy from a maker that documents its safety features clearly rather than guessing.
If the engine cranks weakly or not at all, don’t keep forcing it. A few quick checks usually reveal the problem.
A jump starter gets you moving. It doesn’t fix a battery that’s on its last leg.
Getting the car started is only half the job. Keep the engine running for a while after a successful jump so the alternator has time to put some charge back into the battery, a point confirmed by Popular Mechanics’ guide to portable jump starters. Shutting the engine off too soon can leave you stranded again within the hour.
A jump starter that sits forgotten in a trunk for a year is a jump starter that might not work when you need it. Store it indoors or somewhere it won’t face extreme heat or freezing cold, since both can shorten a lithium battery’s life and, according to the CPSC’s recall notice on jumpstart units, increase the risk of failure.
Before making any connection, run through a quick check. One brand offers a 60 Second Jump Starter Safety Checklist designed as a fast, repeatable routine to catch common jump-start mistakes.
That checklist draws on standards including UL 2743 and battery management system practices common to quality lithium jump starters.
Pro Tip: Keep a small notepad or phone note of your jump starter’s last charge date. It takes ten seconds and saves you from discovering a dead unit at the worst moment.
A jump starter is the right tool when your battery is simply drained, maybe from lights left on overnight, and the car itself is otherwise healthy. If you smell rotten eggs, see a swollen or cracked case, or the car needs jumping every single time you drive it, stop and call a technician instead. No checklist replaces your vehicle’s own manual, and neither does mine.
— Tony
Carrying the right jump starter matters as much as knowing the steps. Sabezon’s 4-in-1 Car Jump Starter is built for straightforward setup, with safety features and a manual that walks you through model-specific steps before you ever need them in an emergency.

Browse the full lineup in Sabezon’s collections and pick the one that fits your car and your glovebox.

Your vehicle’s owner’s manual and your jump starter’s manual are the final word on model-specific steps. For broader guidance, see Consumer Reports’ jump-start guide and Sabezon’s own cold-weather handling guide for storage advice.
You don’t jump directly from the starter motor itself: connect the jump starter’s clamps to the battery terminals or designated remote jump posts instead. Jumping straight from a starter can damage wiring and bypass the safety grounding that protects your car’s electronics.
A jump pack isn’t designed as a diagnostic tool for a starter motor. If the engine cranks slowly or not at all even with a fully charged jump starter connected correctly, the issue is likely the starter itself and worth a professional diagnosis.
Type S units follow the same core sequence as most jump starters: connect positive to positive, negative to a grounded metal point, power on if the unit requires it, then start the engine. Always check the specific model’s manual first, since button placement and indicator lights vary.
Follow the same safe order: positive clamp to the battery’s positive terminal, negative clamp to an unpainted metal ground point, then power on and attempt to start. Sabezon’s 4-in-1 Car Jump Starter includes a manual and the 60 Second Jump Starter Safety Checklist to walk you through its specific features.
Recheck your clamp connections first, since a loose or reversed clamp is the most common cause of a failed jump. If the connections look solid and the car still won’t hold a charge after driving for 20 to 30 minutes, the battery or alternator likely needs professional testing, per Interstate Batteries’ guidance.