Cart
0
Complete Your Setup





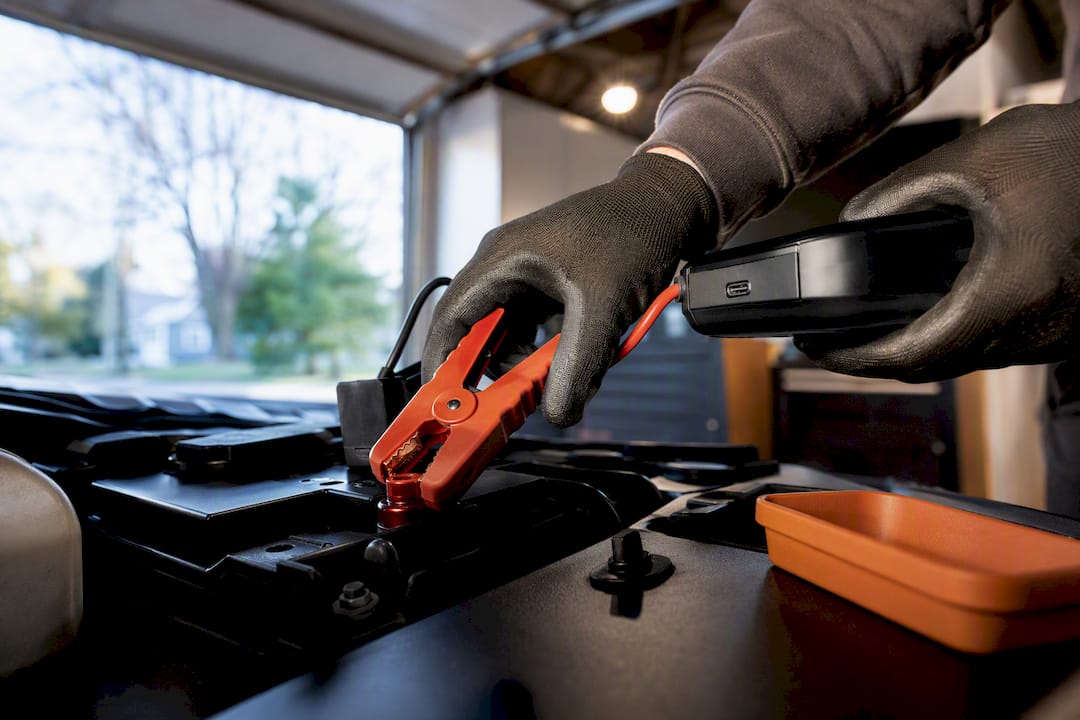
Modern, certified lithium jump starters are safe for everyday emergency use when they carry real protective circuitry and get treated with basic care. The one thing that changes the equation: damaged, uncertified, or swollen units, plus extreme heat or cold, turn a routine jump into a real hazard. Run through the checklist below before your next roadside jump, and before this thing goes back in your trunk.
TL;DR:
- Always inspect your jump starter’s case, cables, and clamps for damage before each use to prevent sparks or poor connections.
- Connect the clamps in the correct order, positive to the battery and ground to a metal surface, and limit each start attempt to five seconds.
- Store the jump starter in a cool, dry place at 50 to 80 percent charge, and avoid exposing it to extreme heat or cold for extended periods.
- Choose units with a built-in battery management system, UL 2743 certification, and protections against reverse polarity, sparks, and short circuits.
- Avoid using a jump starter on damaged, leaking, or swollen batteries, or approaching electric vehicles’ high-voltage systems, and seek professional help if issues arise.
A 60 second check before you clamp anything on saves you from the two most common failure points: a device that’s already compromised and a driver who skipped basic protection. Run through this every time, not just when something looks off.
Pro Tip: Keep a pair of $5 safety glasses clipped inside the jump starter’s case. If the glasses aren’t there, you’re less likely to skip them out of convenience.
Consumer Reports’ jump starter buying guide makes the same point from the buyer’s side: reliable construction and built-in protections matter more than peak amperage numbers on the box.
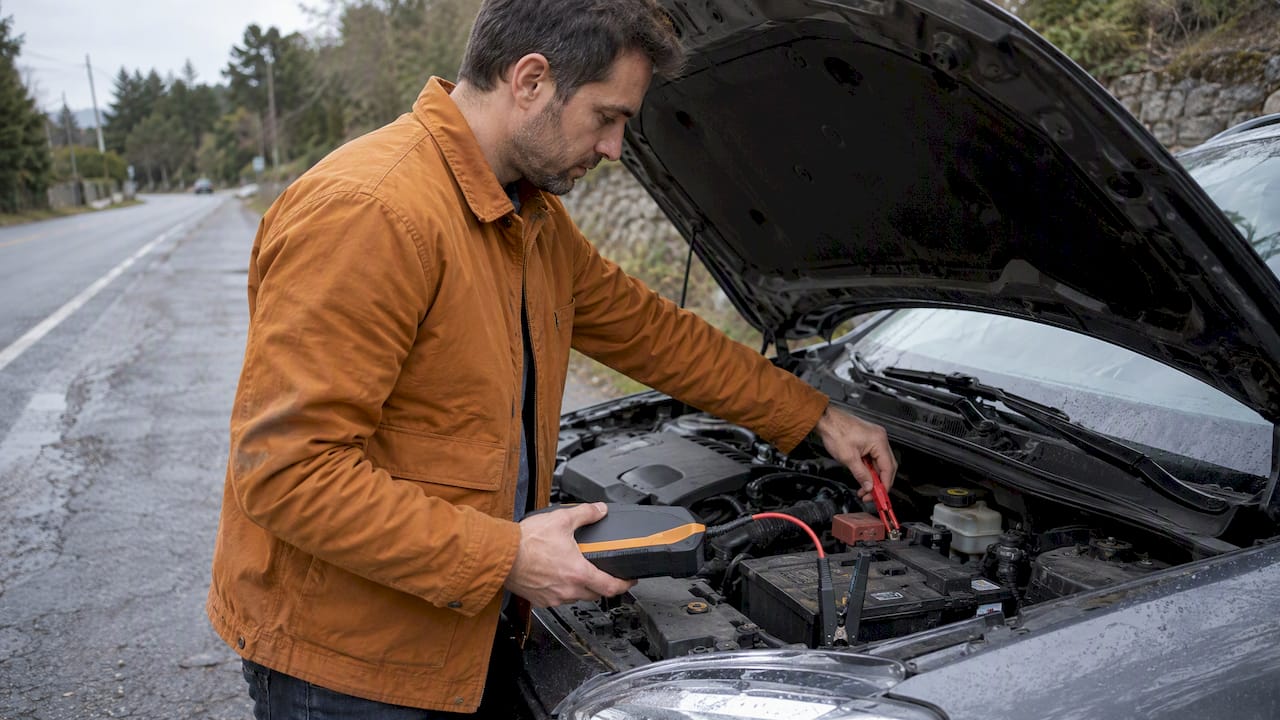
The sequence matters more than the speed. Reverse the clamp order, or connect the negative clamp to the wrong spot, and you risk a short circuit, a blown fuse, or worse. Here’s the order that keeps you out of trouble.
Reverse polarity is worth calling out on its own. It’s consistently the most common user error with jump starters, and it’s the fastest way to blow a fuse or fry a vehicle’s onboard electronics. A quality jump starter’s protective circuitry will usually catch a reversed connection and shut down rather than let current flow, but that circuitry is a backstop, not a substitute for reading the plus and minus markings before you clamp anything. Popular Mechanics’ walkthrough on using a portable jump starter covers this same clamp order and grounding logic in more depth if you want the full mechanical explanation.
One number worth remembering: limit each start attempt to 5 seconds max, with a 30 second cooldown between tries, and stop entirely after three attempts. That single rule prevents most of the overheating complaints tied to jump starter misuse.
If the vehicle still won’t start after following this sequence correctly, the problem usually isn’t the jump starter. It’s a deeper electrical or mechanical issue that needs a mechanic, not more cranking.

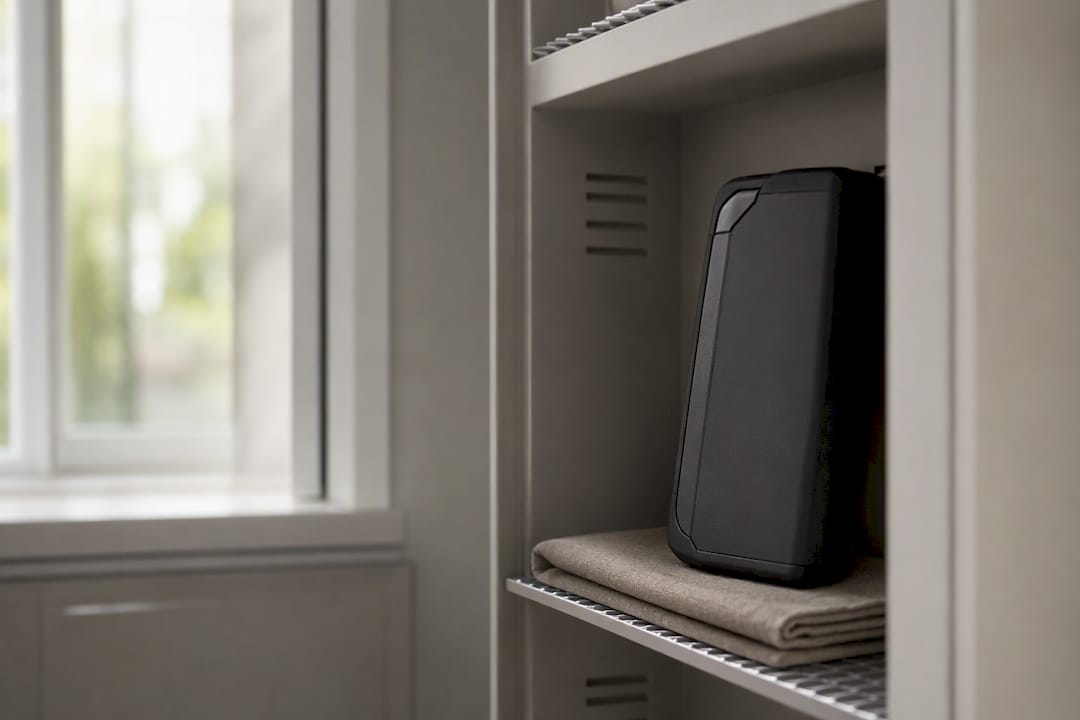
Heat is the real enemy of a lithium jump starter’s battery cells, more than cold ever is. A car’s interior can climb well past 120°F on a sunny day, and sustained heat like that accelerates cell degradation and raises the risk of swelling over time. Leaving the unit in a glove box through a summer heatwave is one of the most common ways owners shorten its lifespan without realizing it.
Cold works differently. Lithium cells temporarily lose output capacity in freezing temperatures, but that’s a performance issue, not a safety one. If your jump starter has been sitting in a cold trunk overnight, bring it inside the cabin for a few minutes to warm up before you try to use it. You’ll get a stronger, more reliable start.
Pro Tip: If you live somewhere with real summer heat, keep the jump starter in the house and move it to the car only for road trips or when a storm is forecast. The convenience of grabbing it from the trunk isn’t worth the accelerated wear.
A Battery Management System, or BMS, is the component doing the real safety work inside a modern lithium jump starter. It monitors cell temperature, balances charge across individual cells, and cuts power automatically if voltage or current climbs outside safe ranges. Without it, a lithium pack is just a battery with no supervision, which is a very different risk profile.
UL 2743 is the standard to look for on the box or in the manual. It’s the primary safety certification for portable power packs, and units tested to it have been verified to include the protective circuitry needed to reduce electrical hazards, things like over-current and over-voltage cutoffs that a BMS alone doesn’t always guarantee on cheaper units.
Beyond the BMS and UL certification, a few hardware features separate a genuinely safe jump starter from a risky one:
Roughly a third of jump starter failures reported in consumer guides trace back to uncertified units or cable-only protection schemes that get bypassed when a cheap replacement cable is swapped in. That’s why practitioners generally recommend units where the safety circuitry lives in the chassis itself, not just in a removable cable module. Before you buy, open the manual (most are posted online even before purchase) and confirm the specs are stated explicitly. Vague claims with no UL mark and no listed protections are a signal to look elsewhere.
Some situations aren’t a judgment call. If you see any of the following, stop and call a professional instead of reaching for the clamps.
None of these are rare edge cases. They’re the exact situations where a $40 jump starter and a little impatience turn into an expensive, or dangerous, mistake.
Treat a jump starter like a smoke detector: it only matters if it works the one time you actually need it, and that means checking it on a schedule instead of assuming it’s fine.
Pro Tip: Set a recurring reminder on your phone for the first of every third month. “Check jump starter” takes ten seconds to read and can be the difference between a working unit and a dead one when you actually need it.
Thermal runaway and swelling are rare in units with real protective circuitry, and most failures trace back to physical damage, moisture exposure, or cheap uncertified hardware rather than the battery chemistry itself. Still, knowing the response matters.
A 2025 Reuters report on an aircraft fire linked to a power bank is a useful reminder that lithium devices, while safe under normal handling, aren’t risk-free under extreme or careless conditions. That’s exactly why storage habits matter as much as usage habits.
Sabezon evaluates every jump starter we carry the same way we’d want a homeowner to shop for one: verified specs first, marketing claims second. That means checking for BMS protection, confirming certification claims instead of taking a listing’s word for it, and favoring units with chassis-level safety circuitry over cheap cable-only protection.
I’m Tony, and I write about smart home tech and everyday gadgets for a living, the kind of products that quietly prevent small problems before they become expensive ones. A jump starter belongs in that same category. It’s not a glove box afterthought. It’s a small emergency appliance, and it deserves the same scheduled attention you’d give a smoke detector or a fire extinguisher.
— Tony
If you’ve read this far, you know what to look for: a Battery Management System, real certification, spark-proof clamps, and a case that protects the unit between uses. Sabezon’s 4-in-1 Car Jump Starter is built around exactly that checklist, with a protective case included and clearly listed specs instead of vague peak-amp marketing numbers.

When it arrives, charge it fully before it goes anywhere near your trunk, keep it in its case, and set that quarterly check reminder we mentioned earlier. It’s the same three habits that keep any jump starter safe for years instead of months. If you want to compare it against other smart home essentials worth having on hand for emergencies, browse Sabezon’s smart home tech collection or start with the jump starter itself and check it off your prep list today.
The safety claims in this guide aren’t Sabezon’s opinion. They come from the standards bodies and publications that actually test this equipment. UL 2743 is the certification standard itself, worth checking directly if you want to understand exactly what a “UL listed” jump starter has been tested against. Consumer Reports’ buying guide offers independent purchase criteria beyond what any single brand will tell you. Popular Mechanics’ step-by-step guide covers the mechanical side of clamp sequencing in more technical detail than most owner’s manuals bother with. And the Reuters report on the Air Busan incident is worth a read if you want real-world context for why storage and handling cautions aren’t just boilerplate warnings.