Cart
0
Complete Your Setup
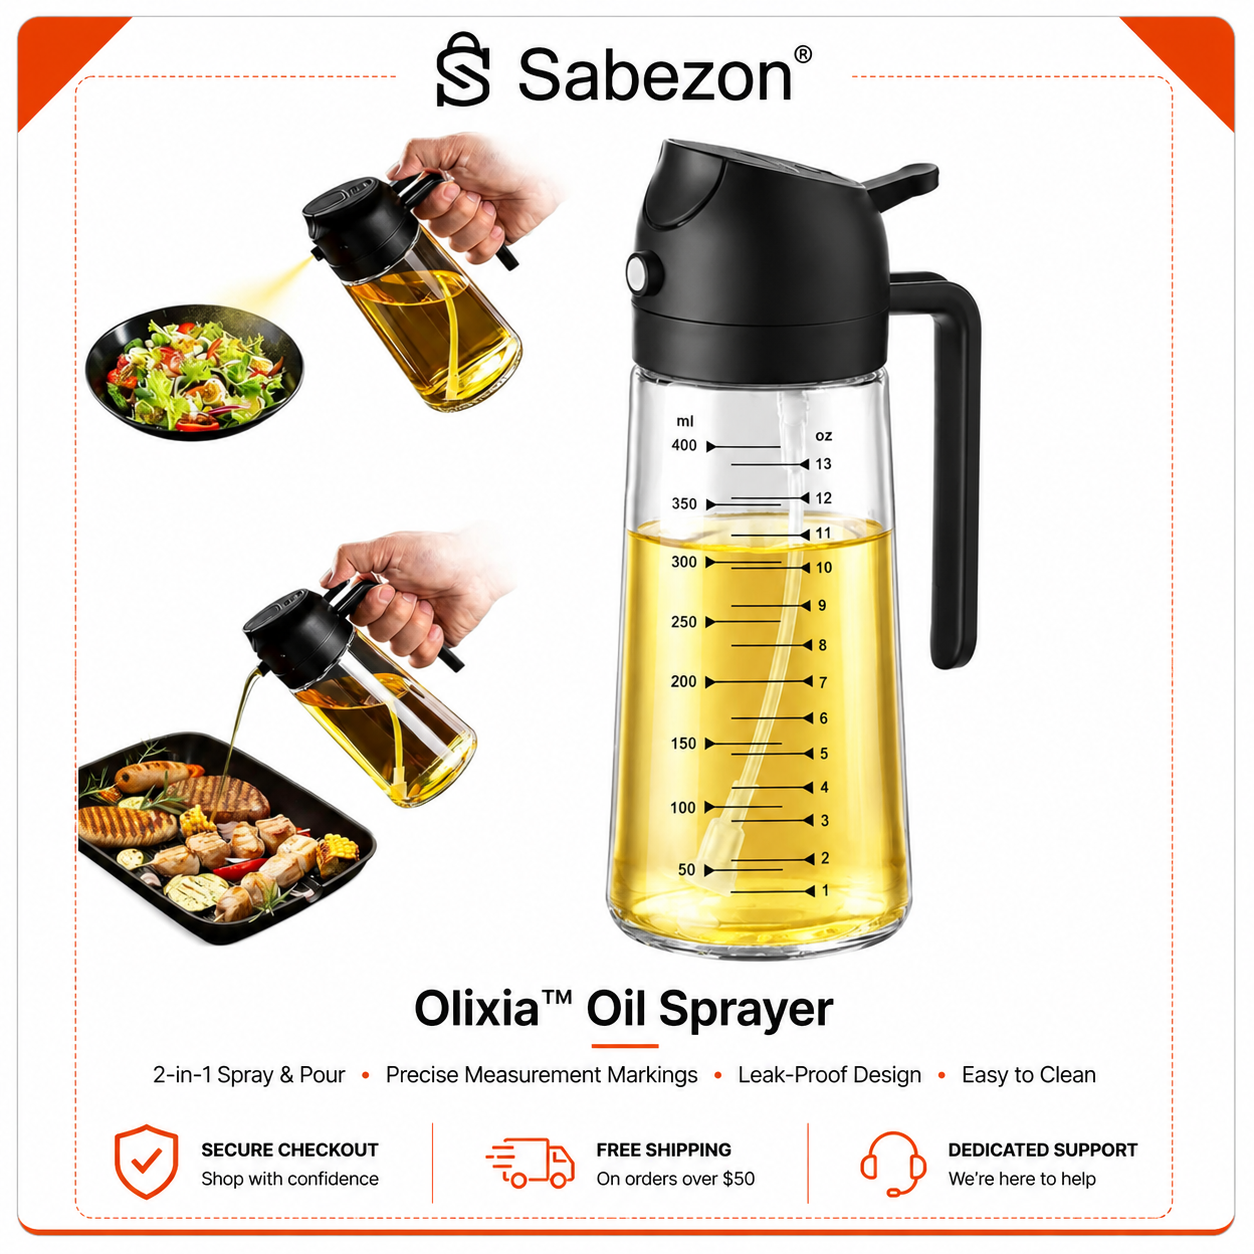


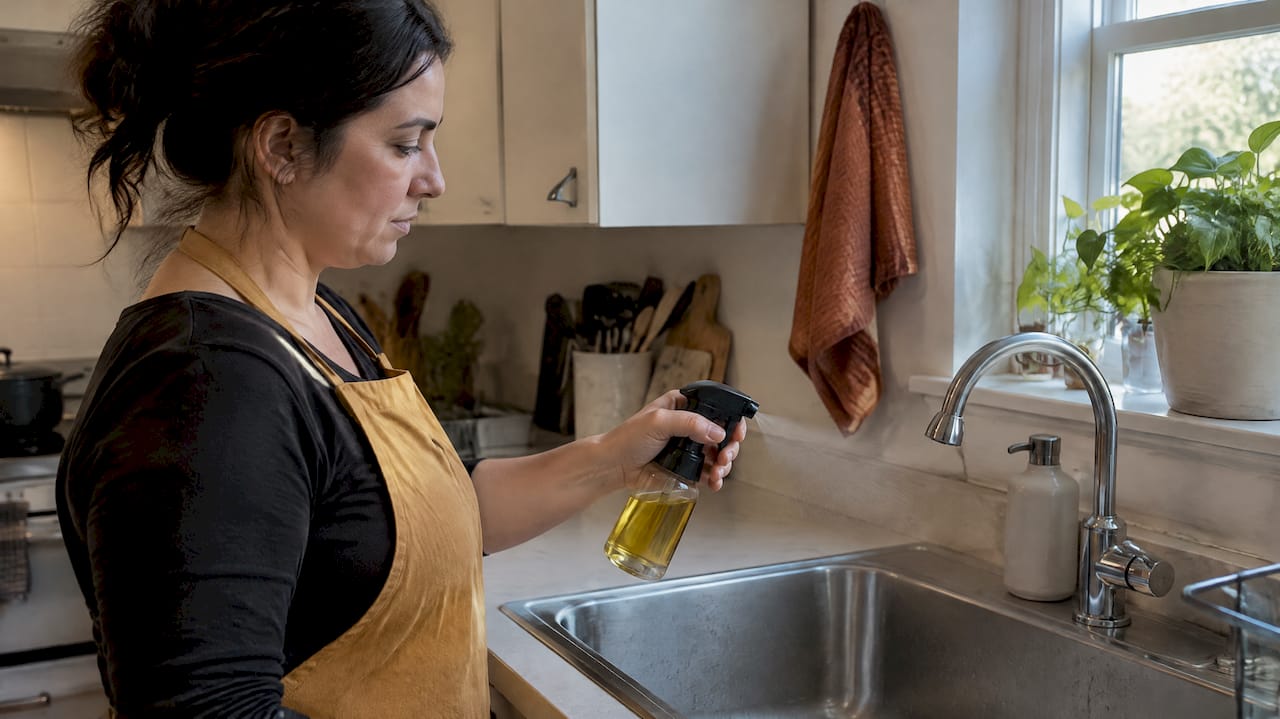
Start by flushing the sprayer with warm, soapy water, that clears most clogs. Pump the solution through the nozzle several times, then test the spray pattern on a paper towel. If it still won’t mist, check whether the bottle pressurizes at all. A hiss means the clog sits in the nozzle; no hiss points to a seal or pump problem, and a fresh Olixia™ Oil Sprayer is a reliable backup if you’d rather not keep troubleshooting.
TL;DR:
- Flush the sprayer with warm, soapy water, pumping ten to fifteen times; then use the cap hiss to distinguish a nozzle clog from pump or seal failure.
- Use water around 150 to 160 degrees Fahrenheit, then soap; reserve a brief vinegar soak for removable nozzle parts and rinse until odorless.
- Use a fine pin or dental pick gently only after soaking; forcing the nozzle can permanently widen its opening and turn the mist into a stream.
- Flush the nozzle with water after each use, release pressure before storage, and clean every six to eight weeks; avoid thick or sedimented oils.
- If soaking and gentle clearing fail, or the sprayer cannot hold pressure, a worn nozzle or seal may make replacement more practical than further repairs.
Most oil sprayer clogs are shallow. They sit right at the nozzle tip where oil dries and hardens, and a quick flush often clears them without any disassembly.
That hiss test matters more than it sounds like it should. If you hear air escaping when you crack the cap, your sprayer is building pressure fine, and the holdup is downstream in the nozzle. If the cap comes off silent and flat, something in the seal or pump isn’t doing its job. Either way, these sink fixes take under ten minutes and solve the problem for most home cooks on the first try. If the spray still sputters or refuses to mist after this round, move on to a proper diagnosis before you start taking anything apart.
Before you touch a pin or a brush, figure out which part is actually failing. Mixing this up is how people end up widening a nozzle hole that was never clogged in the first place.
Run the pressurization test first: pump the trigger ten to fifteen times, then loosen the cap slightly and listen. A hiss of escaping air means the bottle is holding pressure normally, so the obstruction lives in the nozzle or dip tube. Silence, or a cap that comes off with no resistance at all, means the pump or seal isn’t building pressure to begin with. This split is the backbone of troubleshooting an oil sprayer, according to cooking troubleshooting discussions, and it keeps you from poking at the wrong part.
Pro Tip: Always run the hiss test before reaching for a pin. Clearing a nozzle that was never clogged just risks enlarging the hole.
Work from gentlest to most aggressive. Jumping straight to a pin or solvent is how a fixable clog turns into a permanently altered spray pattern.
Rinsing matters more than most people expect. Soap residue left behind after a quick rinse is one of the most common reasons a freshly cleaned sprayer still sputters, so repeat the rinse cycle until the water runs completely clear.
When soap and vinegar don’t fully clear things, a careful mechanical pass can finish the job. The key word is careful: you’re dislodging dried oil, not reshaping the hole.
Pro Tip: Enlarging the nozzle hole even slightly turns a fine mist into a stream for good. If you’re not confident with a pin, stop and consider a replacement sprayer instead.
Once you’ve tried warm water, soap, a short vinegar soak, and gentle mechanical clearing without success, repeated attempts rarely help. That’s usually a sign the nozzle or seal has worn out rather than simply clogged.

A sprayer that gets flushed after every use almost never develops a hardened clog in the first place.
These habits take less time than one full disassembly and rinse cycle, and they’re the real reason some sprayers go years without a serious clog.
Work through this in order before deciding the sprayer needs replacing.
We’ve looked closely at why oil sprayers clog, and the pattern is consistent: narrow nozzles and natural oils are a tough combination without the right habits. Our guide to caring for refillable oil sprayers walks through the same end-of-use flush routine that keeps a nozzle clear long term.
Repairing a worn sprayer works right up until the seal or nozzle itself gives out. At that point, a simple swap saves more time than another soak-and-scrub cycle, and starting with a reliable design means fewer repeat clogs down the road.

Most clogged sprayers I’ve come across turn out to be a five-minute fix, not a reason to toss the whole bottle. Warm water and a drop of soap clear the nozzle more often than people expect, and the hiss test takes the guesswork out of deciding what to check next.
Work through the steps in order before you assume the worst. A sprayer that won’t mist usually just needs a proper flush, not a replacement, and if it does need replacing, that’s a quick decision once you know the repair route truly isn’t working.
— Tony
A sprayer that’s simple to clean stays reliable longer, and that’s exactly what we built the Olixia™ Oil Sprayer for. It’s designed with an accessible nozzle and dip tube, so the quick flush routine above keeps it misting evenly, no repeat clogs, no repeated disassembly.

If you’re ready to stop fighting with a worn-out sprayer, our Olixia™ Oil Sprayer is a reliable, easy-to-use replacement built for everyday cooking. Browse our full Smart Kitchen collection for more kitchen tools designed to simplify your routine.
| What you get | Why it helps |
|---|---|
| Easy-to-clean nozzle design | Fewer clogs, less scrubbing |
| Refillable glass bottle | Works with everyday cooking oils |
| Simple one-hand pump | No technical setup required |
Give your new sprayer a quick water flush after each use, the same habit that keeps any oil sprayer misting smoothly for years. Shop our full collection for more smart, simple solutions for your kitchen.
Flush it with warm, soapy water first, pumping the solution through the nozzle ten to fifteen times before rinsing clean. If it still won’t mist, run the hiss test to check whether the clog is in the nozzle or the pump, then follow a soap, vinegar, and gentle mechanical clearing sequence in that order.
Start with warm water pumped through the nozzle, then a drop of dish soap if that doesn’t clear it. For a stubborn blockage, a fine pin or a dental pick can gently dislodge debris, but avoid forcing it since widening the opening permanently changes the spray pattern.
A sprayer that pumps up normally but won’t mist usually has a clogged nozzle or dip tube, while one that won’t hold pressure at all likely has a worn gasket or pump seal. Running the hiss test tells you which path to follow before you start cleaning.
Vinegar works as a short soak for stubborn residue on removable nozzle parts, not as something left inside the main bottle or sprayed onto food. Rinse thoroughly with clean water afterward until no vinegar smell remains, since leftover residue can affect taste and seals.