Cart
0
Complete Your Setup





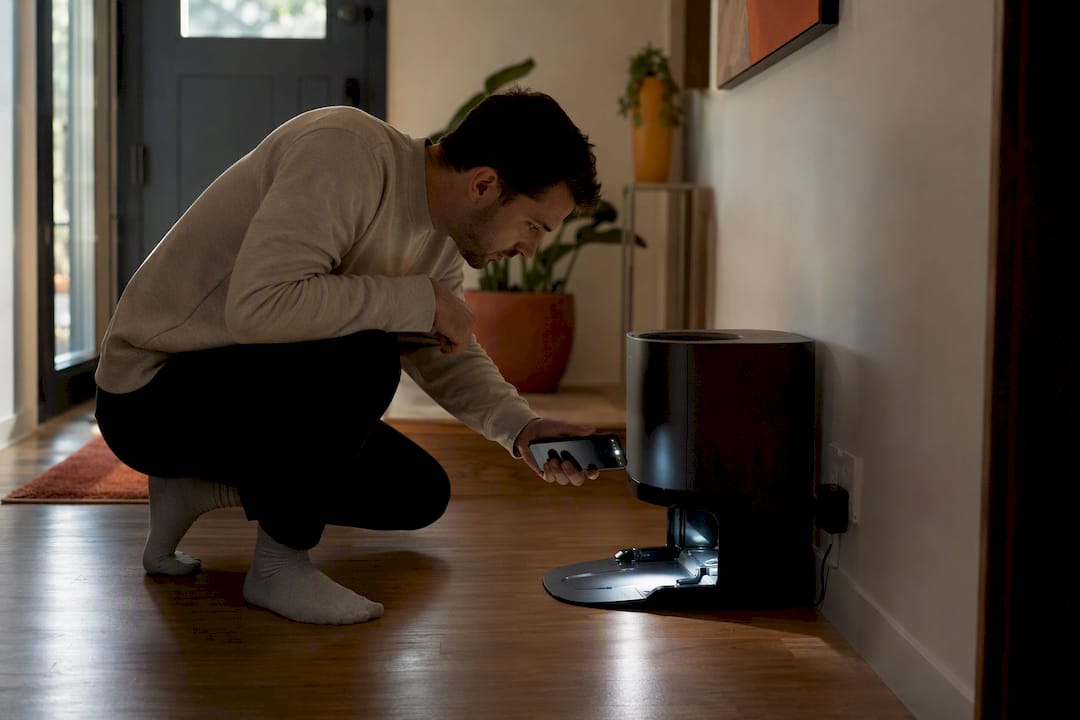
Most robot vacuums that won’t charge are suffering from one of three simple problems: dirty contacts, a powerless dock, or a tired battery. Check the dock indicator light and clean the charging contacts first. Basic troubleshooting like this resolves 70 to 80 percent of robot vacuum charging problems, so you’re more likely fixing a $2 problem than facing a dead unit.
Try these two things before anything else:
Once you’ve made a fix, give the robot time to respond. A full charge takes about 4 hours on most models, and the battery indicator light won’t always change the moment you place it back on the dock. Give it 10 to 15 minutes before assuming your fix didn’t work.
Most robot vacuum charging failures come down to dirty contacts, a powerless dock, or dock misalignment, and clearing those three usually restores charging within minutes.
| Point | Details |
|---|---|
| Start with the easy checks | Clean contacts, verify dock power, and confirm alignment before assuming a battery or hardware failure. |
| Basic fixes solve most cases | Simple troubleshooting resolves 70 to 80 percent of robot vacuum charging complaints. |
| Give it time after a fix | A full charge takes about 4 hours, so wait before troubleshooting further. |
| Watch for real damage signs | Burning smell, melted plastic, or corrosion that won’t clean off means it’s time to contact support. |
| Sabezon designs for easy upkeep | The FloorPilot™ robot vacuum uses accessible contacts and a maintenance-friendly dock to reduce these issues over time. |
Before you dig into deeper troubleshooting, run through this quick sequence. It takes less time than making coffee, and it catches the causes behind most “robot vacuum won’t charge” complaints.
If everything checks out here and the robot still shows no charging activity, you’re likely dealing with contact buildup, a dock power issue, or an alignment problem, and the next few sections walk through each one.
Pro Tip: Do this check with the lights on and your phone flashlight ready. Charging contacts are small, and a lot of buildup is invisible in dim rooms until you shine a light across the metal strips at an angle.
Charging contacts fail more often from grime than from actual hardware breakdown. Dust, pet hair, and a thin invisible film build up on the metal strips over weeks of normal use, and that film can block current flow even when the contacts look perfectly clean to the eye. This is one of the single most common reasons a robot vacuum battery stops charging, and it’s also the easiest fix on this entire list.
Always power off and unplug the dock before you touch anything metal. You’re working with electrical contacts, and a few seconds of caution here prevents a shock or a short.
Here’s the cleaning sequence that works, in order:
Pro Tip: Make this a two-minute monthly habit rather than a reactive fix. Contact buildup is gradual, so cleaning before it becomes a problem keeps your robot vacuum charging dock working the way it should.
While you’re in there, look closely for anything beyond surface grime. Green or copper-colored discoloration on the contacts signals corrosion, not just dirt, and that’s a different problem entirely. Light corrosion sometimes responds to a more thorough alcohol clean, but if the metal looks pitted, flaking, or visibly eaten away, cleaning won’t fix it. That level of damage usually means a worn part that needs replacing rather than restoring.
A robot vacuum charging dock is really just a pass-through: wall outlet to adapter to dock to robot. If any link in that chain is broken, nothing downstream works, no matter how clean your contacts are.
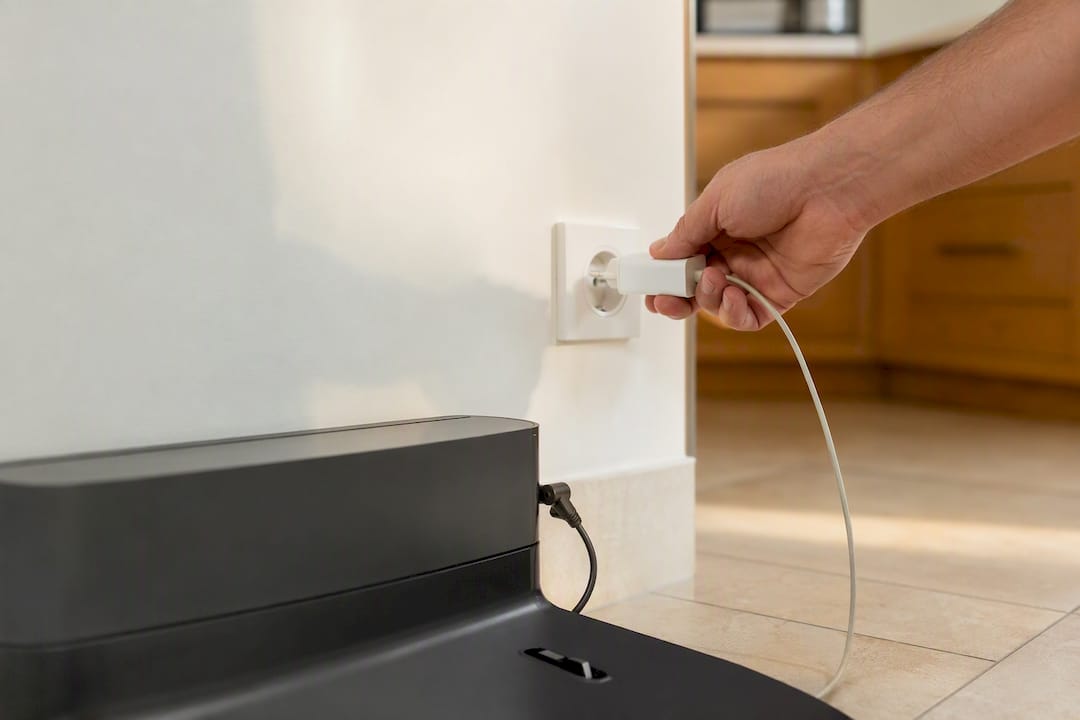
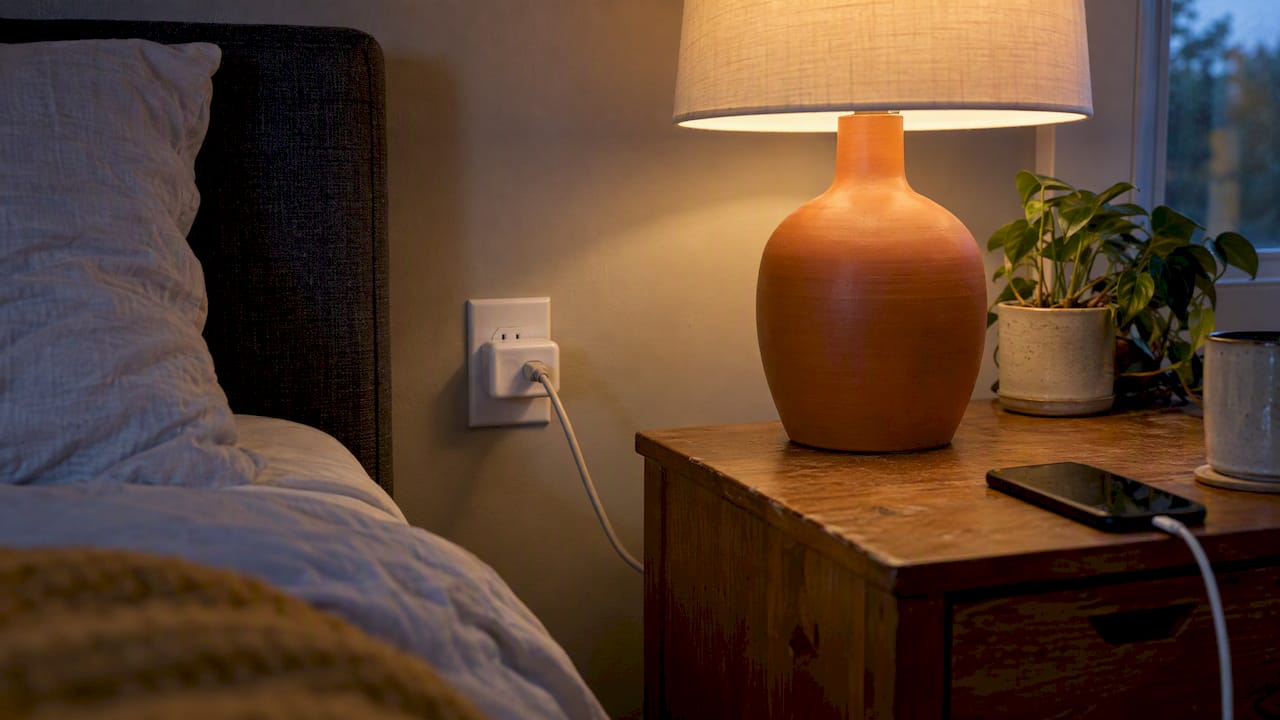
Start with the outlet itself. Plug in a lamp or phone charger to the exact outlet the dock uses. If that device doesn’t power on, you’ve found your problem, and it has nothing to do with your vacuum. Some outlets are wired to a wall switch or a smart plug schedule that cuts power at certain hours, which trips up more people than you’d expect.
Next, check the adapter, the brick-shaped piece between the wall and the dock. Independent troubleshooting guides consistently point to adapter seating and output as an early diagnostic step, and for good reason: it’s overlooked constantly. Reseat both ends of the adapter firmly. A connection that looks plugged in can still be loose enough to interrupt power.
Look over the adapter and cable for physical damage:
Internal cable damage from repeated bending is a frequent and easy-to-miss cause of charging failure, since the outside can look intact while the wire inside has separated. If you have a multimeter and feel comfortable using one, testing the adapter’s output voltage against its rated spec is a reliable way to confirm it’s actually failing rather than guessing. If you don’t have one, try swapping in a compatible adapter if you own a spare, or test the dock at a different outlet entirely.
A dock with a dead LED, an adapter that tests at zero output, or a cable with exposed wire has moved past a cleaning fix. At that point, you’re looking at a dock or adapter replacement, and contacting the manufacturer for a compatible part is safer than guessing at aftermarket compatibility.
A dock that’s slightly out of position causes more “robot vacuum won’t charge” calls than most people expect. The robot can dock, sit there for hours, and never actually complete an electrical connection, because docking and charging are two separate mechanical events.
Set up the dock correctly first:
If the robot seats but you still see no charging light, place it by hand directly on the dock, pressing gently to confirm firm contact between the pins. Some models show a distinct light change within seconds of a good connection; others take longer. If manual placement still produces nothing, alignment isn’t your issue and the fault has shifted to power delivery or the contacts themselves, both covered above.
One detail worth knowing: robots that rely on mapping to navigate home sometimes approach the dock at odd angles after a map error, which looks identical to a placement problem but has a software root. If the mapping behavior seems off in general, that’s worth ruling out before you keep adjusting the dock’s physical position.
Batteries and charging systems fail in different ways, and mixing them up wastes time. A charging system failure means power never reaches the battery. A battery failure means power reaches it fine, but the cell can no longer hold a useful charge. Here’s how to tell them apart.
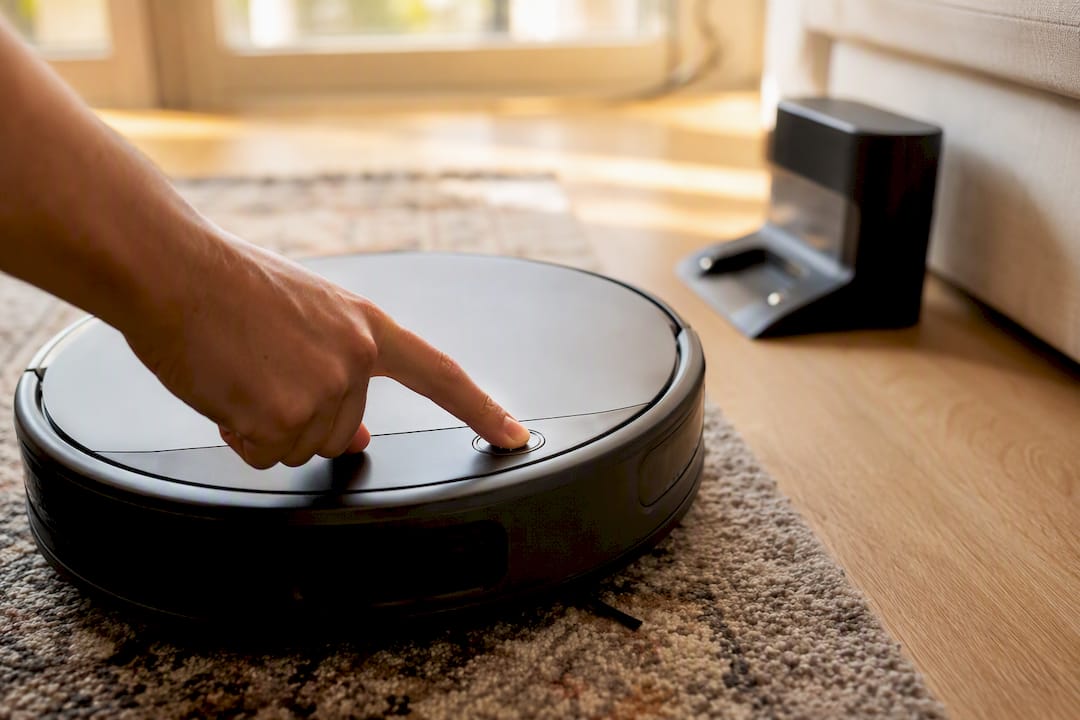
Start with a hard reset, which acts as a diagnostic more than a fix. Hold the robot’s power button for about 30 seconds, then release it and place the robot back on a clean, verified dock. This sequence pulls the robot out of a software lockup or sleep state that can look exactly like a dead battery but isn’t. If the robot responds after this reset, whatever was wrong lived in software, not hardware.
If the reset doesn’t help, try a calibration cycle: let the robot run until it fully drains, then let it charge completely uninterrupted, then run it down again. This process occasionally resolves batteries that have developed an inaccurate charge reading, where the robot thinks it’s full or empty when it isn’t.
Watch for these signals that point toward genuine battery wear rather than a fixable glitch:
If you’re shopping for a replacement, stick with a battery made for your exact model. Aftermarket and counterfeit batteries are a common source of persistent charging errors, because they often fail to communicate properly with the robot’s battery management system, even when they physically fit. A mismatched battery can trigger the same error lights you’re trying to fix in the first place.
Pro Tip: If you’re unsure whether you’re facing a software lockup or a dead battery, the hard reset costs you nothing and takes 30 seconds. Always try it before assuming the worst.
Physical damage to the charging pins is less common than dirt or software glitches, but it’s worth ruling out, especially if your robot has taken a fall or been knocked around during cleaning.
Inspect both sets of pins, on the robot and on the dock, under good light. Corrosion typically shows up as a green or bluish tint on copper contacts, sometimes with a slightly crusty texture. That’s different from surface dust, which wipes away easily. Corrosion sits in the metal itself.
If the pins are just slightly misaligned, a gentle nudge back into position with a plastic tool (never metal, which can scratch or short the contact) sometimes restores a working connection. Do this carefully and stop if you feel resistance. Forcing a bent pin often snaps it.
Light corrosion frequently responds to the alcohol-and-eraser cleaning covered earlier. Heavier corrosion, visibly pitted metal, or any plastic damage around the contact housing are past the point of a safe home fix. At that point, replacement parts or a service call are the only responsible options, and pushing forward with a damaged charging assembly risks a bigger failure than the one you started with.
Not every charging failure is mechanical. Robot vacuums run on firmware, and a corrupted update, a stuck app connection, or a scrambled internal map can produce symptoms that look exactly like a hardware fault.
Here’s how to recognize a software-rooted problem:
If you suspect software, start with a soft reset through the app, then check for a pending firmware update; manufacturers regularly push fixes that resolve exactly this kind of glitch. Before attempting a full factory reset, back up or note your cleaning map, since a factory reset typically wipes it and you’ll need to remap your home from scratch. Firmware or ship-mode states can genuinely mimic a dead battery, which is exactly why the hard reset from the earlier section is worth trying before you assume hardware failure.
If a factory reset and firmware update don’t clear the error, and the app continues to show the same charging fault, that’s a sign of deeper map or firmware corruption that’s best handled by contacting manufacturer support directly rather than continuing to reset repeatedly.
Batteries have a comfort zone, and charging outside of it simply won’t happen, by design. Most robot vacuums charge best between 65 and 75°F (18 to 24°C). Push far outside that range and the battery’s built-in protection circuit blocks charging entirely rather than risk damage.
If your robot has been somewhere cold, bring it into a normal room and let it sit for 30 to 60 minutes before trying to charge again. That’s usually enough time for the internal battery temperature to climb back into range.
One more thing worth checking: moisture. If the robot’s been near a spill, a damp mop pad, or a humid bathroom, dry the entire unit and the contacts completely before attempting to charge. Charging a wet connection is a real safety risk, not just an ineffective one.
Some signs mean stop what you’re doing and contact the manufacturer rather than keep experimenting.
Before you call or start a chat with support, gather your model number, serial number, a couple of photos of the issue, and a quick list of what you’ve already tried. It speeds up the conversation considerably and often skips a round of basic troubleshooting they’d otherwise ask you to repeat.
Check your warranty status first. Many charging faults, especially battery and dock issues, fall under standard coverage in the first year or two. If you’re outside warranty, ask specifically about battery disposal guidelines; lithium batteries need proper recycling and shouldn’t go in household trash.
Most charging failures are preventable with a few minutes of attention each month, and the routine is honestly simpler than most people expect.
Pro Tip: Set a recurring reminder on your phone for contact cleaning. It’s the kind of task that’s easy to forget until the robot stops charging, and by then you’re troubleshooting instead of preventing.
Sabezon designs its robot vacuums with maintenance in mind, and that shows up in a few practical places if you’re troubleshooting a Sabezon unit specifically or just want a second reference point.
A charging fault rarely means the whole unit is done for. In the overwhelming majority of cases, it’s dust, alignment, or a dock that stopped getting power, and every one of those is fixable in under ten minutes.
If you’ve worked through the cleaning and dock checks above and your robot still won’t hold a charge, that consistency itself is useful information: it tells you the fault is likely mechanical rather than something you missed.
Generic replacement docks and off-brand adapters cause more charging headaches than most buyers expect going in. The core problem is voltage and current matching. A robot vacuum’s charging circuit is tuned to a specific adapter output, and a third-party charger that’s even slightly off spec can charge inconsistently, charge slowly, or trigger the robot’s internal protection circuit and refuse to charge at all.
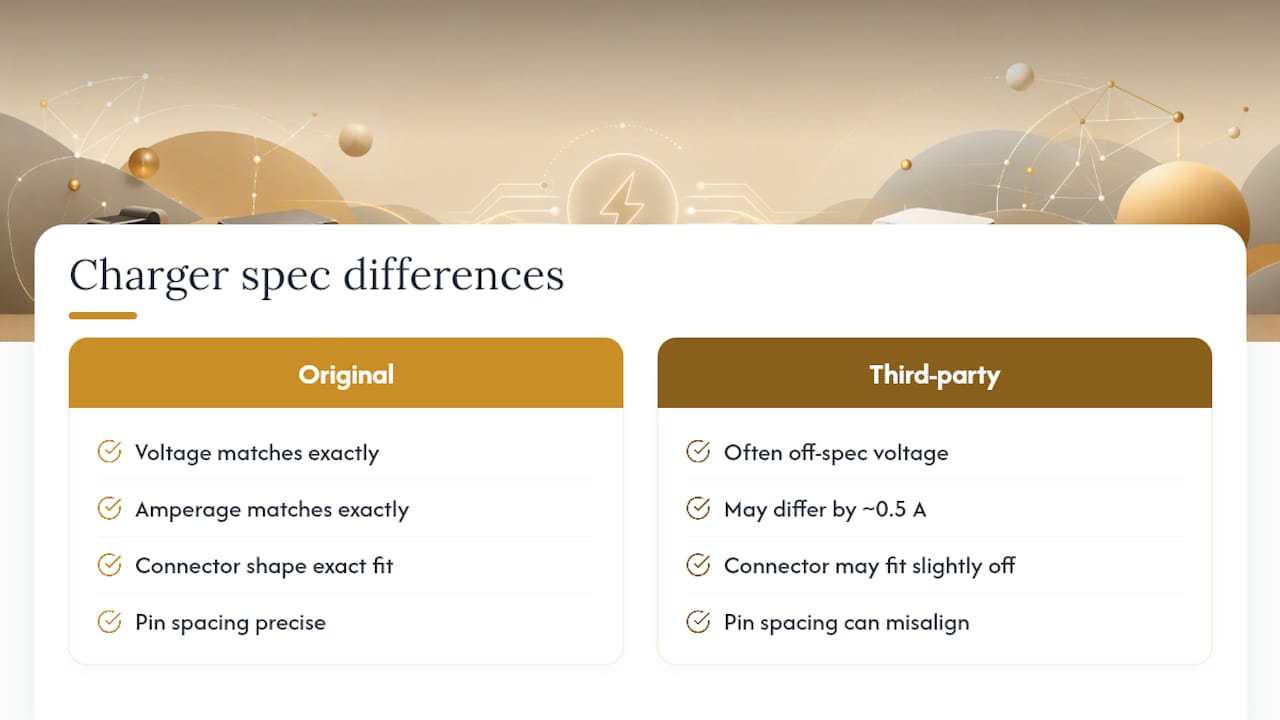
If you’re using a non-original dock or adapter and running into charging problems, here’s what to check first. Confirm the voltage and amperage printed on the replacement match your original adapter exactly, not just “close enough.” A 0.5 amp difference sounds small but is often enough to confuse the charging circuit. Check that the connector shape and pin spacing align precisely with your robot’s charging port; a slightly off fit can create the same intermittent contact problems covered in the alignment section above.
If a third-party dock worked fine for weeks and then stopped, treat it exactly like an original dock: check the outlet, check the adapter seating, and clean the contacts. Aftermarket hardware isn’t immune to the same dust and misalignment issues.
The safest path, when your original dock has failed and you need a replacement, is sourcing one built for your exact model rather than a universal-fit option. If you’re also looking into higher-capacity battery replacements for other home devices, Gridwise Living’s battery replacement options are a solid reference point for what proper spec-matching looks like done right.
Firmware updates cut both ways, and it’s worth understanding both directions before you assume an update is the culprit or the cure.
On the fix side, manufacturers regularly push updates that resolve exactly the kind of charging glitch covered in this guide. A firmware patch can correct a battery percentage miscalculation, fix a docking sensor bug that caused misalignment, or resolve a bug where the robot registered as charging in the app while the physical connection never actually completed. If your robot vacuum battery issue started around the same time you saw an update notification, checking for a newer update that addresses the bug is worth five minutes before you touch anything mechanical.
On the flip side, an interrupted update, one that loses WiFi connection mid-installation or gets powered off partway through, can leave the robot in a partially updated state. That sometimes shows up as charging failure, unresponsive buttons, or a robot that won’t leave the dock at all. If you suspect this happened, most manufacturer apps let you retry the update once the robot is back on a stable network and fully connected.
A practical habit: don’t manually power off your robot vacuum while an app shows “update in progress.” Let it finish or fail on its own, and if it seems stuck for more than 15 to 20 minutes, a hard reset (the same 30 second button hold from the battery section) usually kicks it back into a normal boot cycle rather than leaving it half updated.
Almost every charging complaint traces back to something boring: dust, a slightly loose adapter, or a dock nudged an inch off its usual spot. That’s actually good news. The scary-sounding version of “robot vacuum not charging” almost always turns out to be a five-minute fix once you know where to look, which is exactly why this guide starts with the checklist instead of the battery replacement steps.
If you’ve worked through cleaning, dock power, alignment, and a reset and the robot still won’t charge, trust that pattern. It’s telling you something real is broken, not that you missed a step. That’s the moment to stop troubleshooting and call support, and there’s no shame in it. Some fixes genuinely need a technician or a warranty claim, and forcing a DIY fix on a damaged battery or scorched contact isn’t worth the risk.
— Tony
If your troubleshooting points to a worn dock, a failing adapter, or a battery that’s finally reached the end of its 2 to 4 year run, replacing parts doesn’t have to mean replacing the whole robot. Sabezon’s FloorPilot™ robot vacuum is built with a self-emptying dock and straightforward contact access, so the monthly cleaning routine covered earlier stays quick rather than fiddly.

For households weighing whether to repair an aging unit or start fresh, Sabezon’s smart cleaning collection covers robot vacuums built around the same maintenance-friendly design: accessible charging contacts, dock placement that’s forgiving of imperfect corners, and battery components sourced to avoid the aftermarket mismatch problems covered above. If your everyday cleaning routine goes beyond floors, the VacuumPilot™ cordless stick vacuum rounds out the same easy-charging philosophy for spaces a robot can’t reach.
Browsing either page gives you a clear look at what a charging-friendly design actually looks like before you buy, rather than discovering the hard way after a year of ownership. Check the FloorPilot™ product page for current availability and specs.
For error codes specific to your model, your manufacturer’s own support library is the fastest path. iRobot’s charging troubleshooting page covers Roomba-specific fixes, while Vorwerk’s support page covers charging duration and battery life questions. For an independent, brand-agnostic diagnostic walkthrough, ProGadgetPicks’ five-step guide is a solid second opinion if your manufacturer’s page doesn’t match your symptoms exactly.