Cart
0
Complete Your Setup



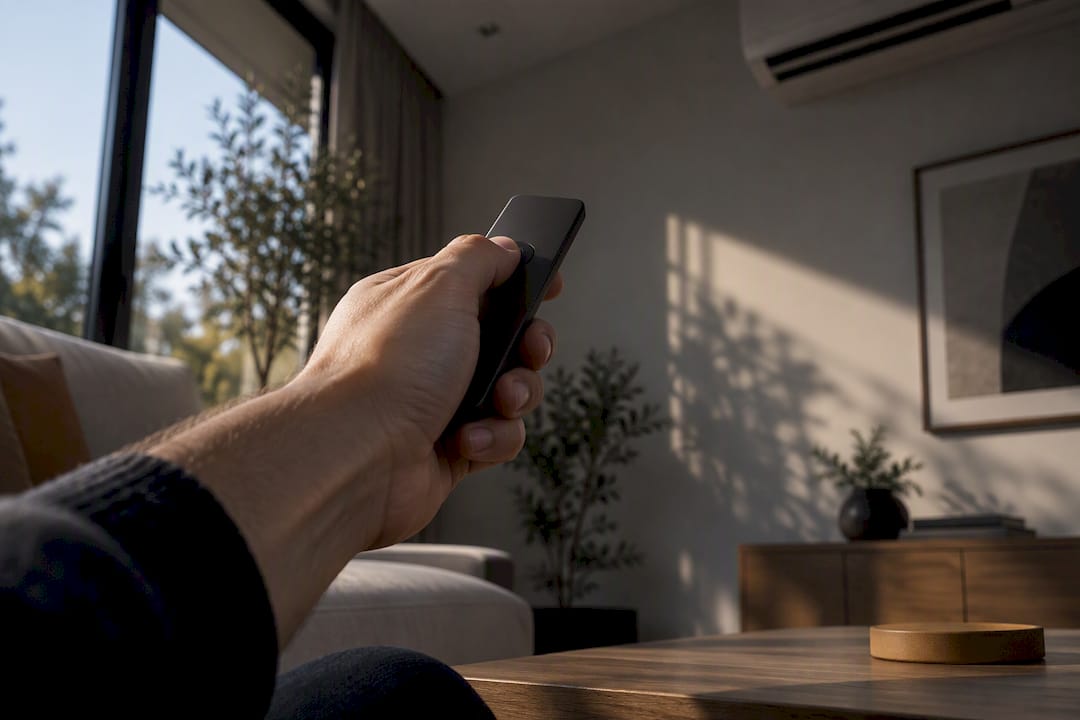
Yes, an IR blaster can make almost any air conditioner smart, since it reproduces the exact signals your remote already sends. Pick a phone IR adapter for quick, local control in one room. Choose a Wi-Fi IR hub when you want remote access and voice assistant support. Go with an ESP32 local bridge if privacy and automation matter most to you.
TL;DR:
- IR blasters must support your AC brand’s code database or raw code learning to ensure reliable control and feature compatibility.
- Wi-Fi IR hubs provide remote access and voice support but depend on cloud services, whereas DIY ESP32 bridges prioritize privacy and advanced automation.
- Setting up an IR blaster typically takes under an hour, with hardware configuration and testing targeting basic functions like power toggle and temperature adjustment.
- To reduce state desynchronization, incorporate IR receivers or smart plugs for power sensing, especially when using unconfirmed IR commands.
- Compatibility and range depend on IR code coverage, room size, and support for advanced modes like swing, dry, or sleep, which are often missing from preset databases.
An IR blaster works by copying the infrared codes your AC remote sends, then replaying them on command. Every button on your remote, power, temperature, mode, fan speed, swing, and timer, maps to a specific IR code. The blaster just repeats that code from a hub, phone, or microcontroller instead of your hand.
Here’s the catch: IR is one-way. The blaster sends a signal, but your AC never sends anything back. That means your smart control system has to assume it knows the current state rather than confirm it. If someone uses the original remote or the power flickers, your app’s display and the AC’s real status can drift apart.
A basic setup includes three pieces: a transmitter (usually an infrared LED), a hub or adapter that stores and sends codes, and optionally a receiver that captures signals for state tracking. Some advanced builds add a temperature sensor for closed-loop control, so the system reacts to actual room conditions instead of guessing.

Your choice comes down to how much control you want versus how much setup you’re willing to do.
Before buying anything, check three things: the code database covers your AC brand, the IR range matches your room size, and the device supports advanced modes like dry, swing, or sleep, not just power and temperature.
Pro Tip: If your AC brand is uncommon, look for a device that supports raw code learning instead of relying only on a preset database.
Each path takes a different amount of effort, but all three get you from remote-only to app-controlled in under an hour.
remote_transmitter component and an optional remote_receiver for state tracking, then expose the device as a climate entity in Home Assistant, according to ESPHome’s IR climate documentation.Once any method is running, confirm it actually works with a short test sequence:
| Test | What to check |
|---|---|
| Power toggle | AC turns on and off reliably |
| Temperature change | Set point moves up and down correctly |
| Advanced feature | Swing or dry mode responds as expected |
A hardware guide from Esp32 recommends driving the IR LED through a transistor rather than directly from a microcontroller pin, which improves range and reliability, especially in larger rooms.
Once your IR blaster is working, the next step is folding it into whichever automation platform you already use.
Pro Tip: Pair your IR blaster with an inexpensive smart plug that reports power draw, so your automations know the AC is actually running, not just that a command was sent.
Most IR blaster problems trace back to line-of-sight, power, or a stale assumed state.
Tasmota’s IRHVAC console outputs decoded state data, including vendor, mode, and temperature, which makes capturing unknown remote codes far more precise than guessing, according to the Tasmota-IRHVAC project documentation.
On the hardware side, a correctly wired transistor driver and proper IR LED polarity solve a surprising share of “it just doesn’t work” cases before you ever touch software settings.
If privacy and deep automation matter most, build the ESP32 and ESPHome route with a local temperature sensor and, ideally, an IR receiver for state tracking. If you just want quick control in one room without extra hardware, a phone IR adapter gets you there in minutes. If you want remote access and voice control without a DIY project, a solid Wi-Fi IR hub with a large code database is the practical middle ground. For deeper local-first tutorials, SmartSavvyHome covers vendor-neutral patterns worth exploring.
— Tony
Smart Products. Zero Hassle. Once your IR blaster has your AC talking to your phone or your automation hub, the rest of your home doesn’t have to stay behind. There are easy-to-use smart home controllers and accessories available that pair simply, with no technical complexity or long manuals.
If you’re ready to round out your setup with reliable, plug-and-play devices, check out Sabezon’s Smart Home Tech collection for controllers and accessories that fit right alongside your IR blaster project. Shop Smarter, Live Better.
Yes, if your AC has built-in Wi-Fi, you can control it directly through the manufacturer’s app without any IR hardware. Older or IR-only units still need a blaster, adapter, or hub to bridge the gap between the remote signal and your phone or automation platform.
Yes, a Wi-Fi IR hub connects to your router and lets you send commands to an IR-only AC from anywhere, not just inside the room. Many hubs also support voice assistants like Alexa or Google Home once paired, according to smart AC remote app listings.
No, iPhones do not include a built-in IR blaster, so you need an external adapter that plugs into the Lightning or USB-C port along with a dedicated app. These adapters carry code databases covering many AC brands, as described in smart AC remote app documentation.
An IR blaster is a small infrared transmitter that reproduces the signals your AC remote already sends, like power, temperature, and mode changes. It lets you control an IR-only air conditioner through a phone app, Wi-Fi hub, or automation platform instead of the physical remote.
This happens because IR is one-way. It sends commands but the AC does not confirm them back, so the hub or app can only assume the current state. Adding an IR receiver for tracking or a power-sensing smart plug, as recommended in Tasmota-IRHVAC configuration guidance, helps correct this drift.