Cart
0
Complete Your Setup


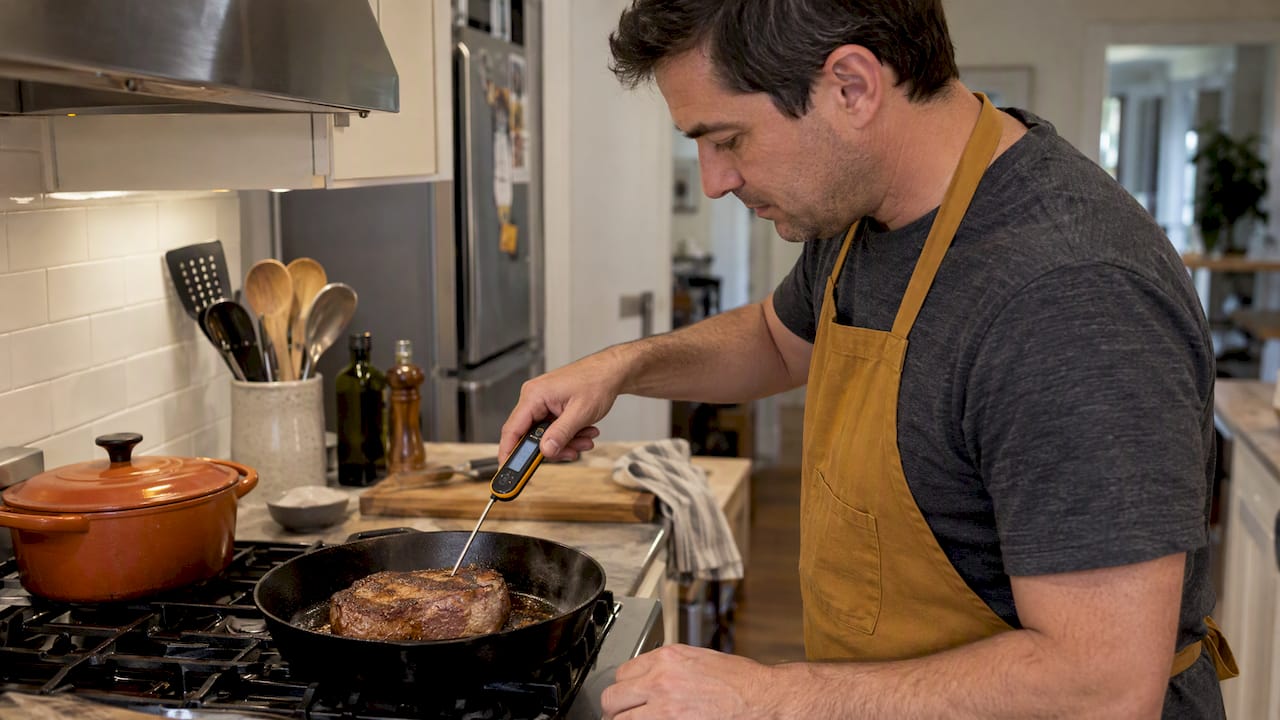
Place your probe in the thickest part of the meat, away from bone, fat, or gristle, for the most accurate reading. For thin foods like patties or chops, insert the probe from the side so the sensing area lands at the center. For whole poultry, check the thigh, wing, and breast; for roasts, aim for the mid-thickest section.
TL;DR:
- Digital probes sense at the tip, but dial probes read across a 2 to 3 inch stem zone, which must be fully buried.
- For uneven cuts, push the probe through or to the bone, then retract it slowly; the lowest reading along its path marks the cold spot.
- Check accuracy in ice water at 32°F and boiling water at 212°F at sea level; readings should fall within 2 to 4°F.
- At higher elevations, boiling water registers below 212°F, so adjust that test; then confirm doneness against USDA minimum temperatures and required rest times.
- On a hot grill, remove food briefly for a reading or use a heat resistant leave in probe, wiping it between raw and cooked checks.
Different shapes hide their cold spot in different places, so the right insertion point changes with the cut.
These placement rules come straight from official FSIS guidance, which stresses thickest part, away from bone and fat, every time. Getting this right matters more than the thermometer brand you’re holding. A $10 dial probe placed correctly beats a premium digital one jammed into gristle.
Every thermometer reads temperature from a specific spot on the probe, and knowing where that spot sits changes how you use the tool.
Digital, thermistor-style probes sense right at the tip, so only the very point needs to touch the meat’s center. Dial, bimetal probes work differently: the sensing area runs 2 to 3 inches up the stem, meaning you need that whole stretch buried in the meat to get a true reading, according to FSIS guidance on probe types.
For dial probes, aim for 2 to 3 inches of insertion depth. For digital tip-sensing probes, only the tip needs to be centered in the meat, clear of bone or the pan below.
Pro Tip: Run your thumb along the stem before cooking. If you feel a dimple, that’s your sensing area, and that’s the part that needs to be buried in the meat, not just the tip.

Irregular cuts hide their cold spot in places you wouldn’t guess, and a few simple moves solve most of the guesswork.
Connective tissue, fat, and bone all shift where the cold spot actually sits, so this retract method beats guessing on any cut that isn’t a perfect cube.
Most inaccurate readings trace back to the same few habits for a healthier BBQ. An FSIS consumer study observed that most participants placed their thermometer incorrectly when checking breakfast sausage, often inserting into the top of the patty instead of through the side, according to USDA’s own findings. That single habit, checking the top instead of the side, accounts for a huge share of false “done” readings on thin foods.
To check your thermometer’s accuracy, dunk it in ice water, which should read 32°F, and in boiling water, which should read 212°F at sea level. Expect readings within about 2 to 4°F of the true value; altitude shifts the boiling point lower, so adjust your target there. Once you trust the probe, verify doneness against the USDA minimum temperature chart and rest times, checking more than one spot on anything shaped unevenly.

I lean on leave-in probes to watch the trend as something cooks, then grab an instant-read for the final check before I pull it off the heat. That two-step habit catches more mistakes than any single fancy gadget.
My routine stays boring on purpose: calibrate every few weeks, know exactly where your probe’s sensing area sits, and always hunt for the thickest or coldest spot before you trust a number.
— Tony
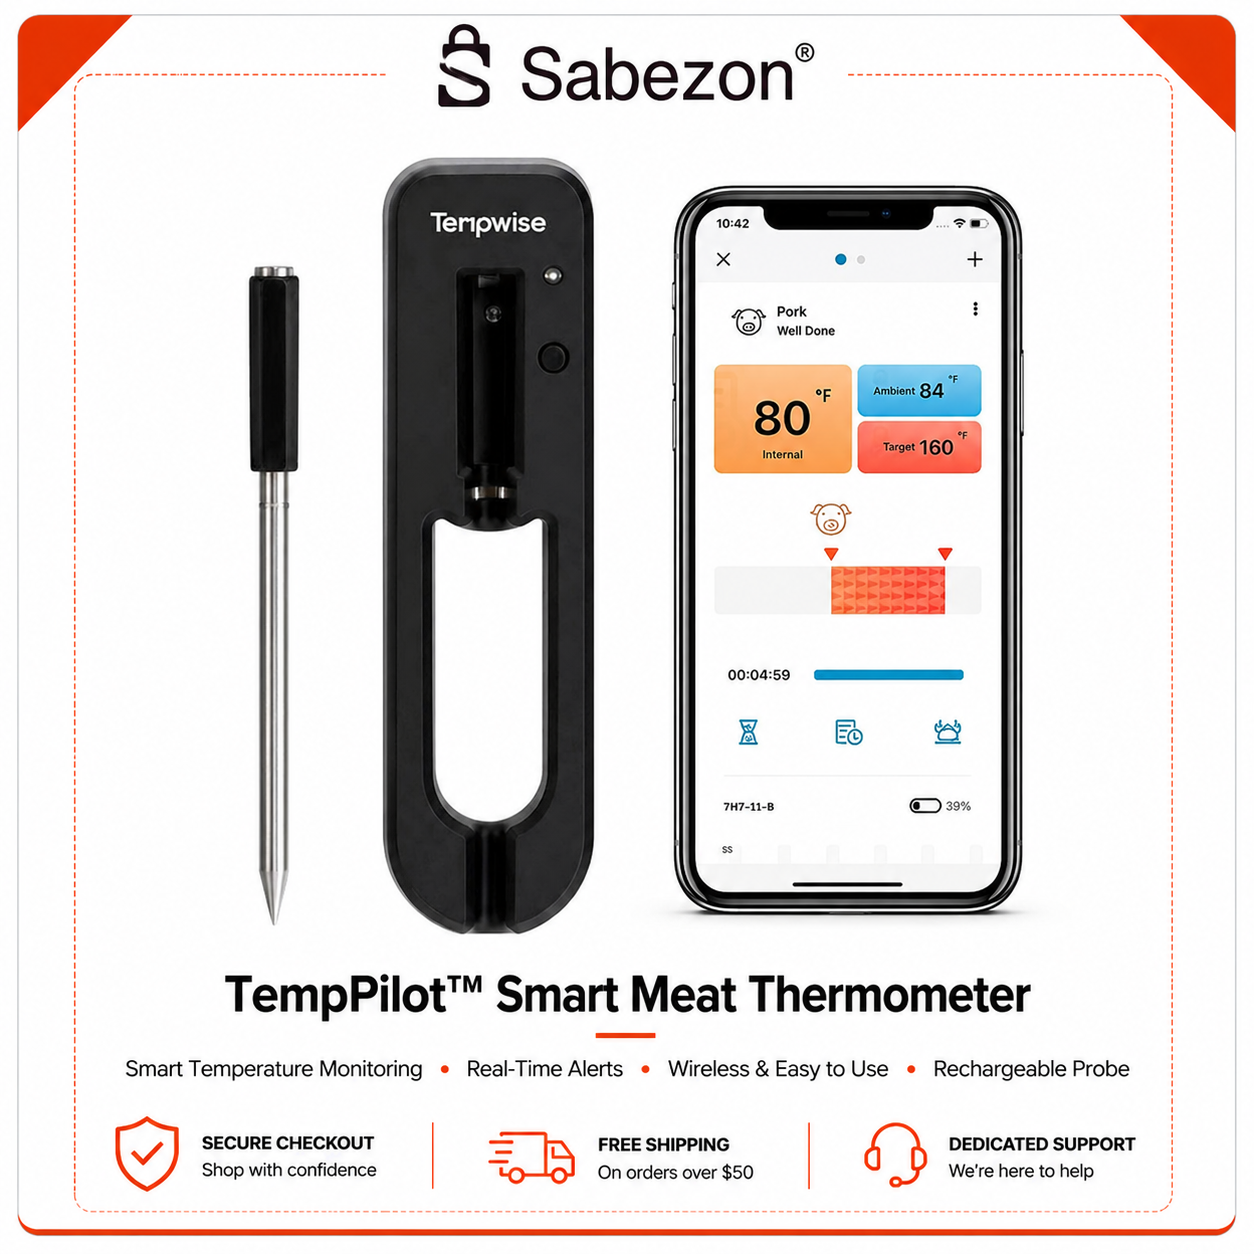
Most placement mistakes come down to not knowing where the sensing tip actually is, which is exactly what we built TempPilot™ Smart Meat Thermometer to fix. It delivers reliable precision, so even an imperfect insertion still gets you closer to the real number.

If you want a thermometer that forgives a slightly off placement instead of punishing it, check out TempPilot™ Smart Meat Thermometer or browse our full Smart Kitchen lineup for more tools that take the stress out of cooking.
The thickest part of the meat, away from bone, fat, or gristle, gives the most accurate reading. For thin foods, insert the probe from the side so the sensing area sits at the center rather than near the surface.
Digital thermistor probes sense right at the tip, while dial bimetal probes read across a 2 to 3 inch sensing area further up the stem. Check for a dimple on the stem or your manual to confirm which type you have.
Test it in ice water, which should read 32°F, and in boiling water, which should read 212°F at sea level, allowing for roughly 2 to 4°F of normal tolerance. If your thermometer drifts further than that and can’t be recalibrated, it’s time to replace it.
Most kitchen thermometers cover a wide enough range to handle everything from rare beef to well-done poultry, with USDA minimum targets like 165°F for poultry and 145°F for whole cuts of beef, pork, or lamb marking the numbers you’re actually checking against.