Cart
0
Complete Your Setup





The full routine is short: empty the dustbin after every run, check the brush and filter weekly, wipe sensors and charging contacts monthly, and inspect wear parts every quarter. Even self-empty and self-wash docks need this attention. Follow it and you’ll dodge most of the failures that send robot vacuums to an early grave. The schedule below breaks it into simple, timed steps.
TL;DR:
- Regular weekly cleaning of brushes, filters, and sensors prevents most common performance issues and extends the robot’s lifespan.
- Monthly tasks include deep-cleaning filters, wiping sensors, cleaning charging contacts, and checking for debris around wheels.
- Parts such as filters should be replaced every 2 to 4 months, while brushes and batteries have longer but predictable replacement cycles.
- Routine maintenance remains essential even in self-emptying models, as fine dust and debris accumulate outside the dock’s capacity.
- Repairability and accessible parts are more significant factors for durability than the model’s price or advanced features.
Robot vacuum maintenance works best when it’s boring and predictable. Pin this list to your fridge, drop it into your phone’s calendar app, or set it as recurring reminders. None of these tasks take more than a few minutes.
After every run:
Weekly (5 minutes):
Monthly (10 minutes):
Quarterly:
Consumer Reports notes that even higher-end, self-emptying models still need this hands-on attention. The base handles bulk debris, not the fine dust and hair that build up around seals and sensors over weeks of runs, according to Consumer Reports’ maintenance guidance.
Every component on your robot has its own care routine, and getting the details right protects both performance and your warranty.
Dustbin and base station. Remove the bin fully and empty it over a trash can, not a sink, since fine dust clogs drains. If your bin is washable, rinse it with warm water and let it air-dry completely before reinstalling; a damp bin breeds odor. Check the suction channel connecting the bin to the base for hair clogs at least monthly. Self-empty docks miss a portion of fine particles during transfer, so inspect the bag or bin inside the base itself every few weeks, not just the robot’s own bin.
Filters. Washable filters get a rinse under cool water, then need a full 24 hours to air-dry before you reinstall them. Disposable filters get tapped clean between runs but should never go back in wet or damp. Watch for a gray, matted appearance. That’s your cue to replace rather than clean.
Main brush and side brushes. Flip the robot over, release the brush guard, and pull the roller free. Use scissors to cut through wrapped hair rather than yanking it, which stretches the bristle bed and throws off the brush’s balance. Side brushes pop off with a single screw or clip on most models. Replace either when bristles look sparse or bent, typically every few months.
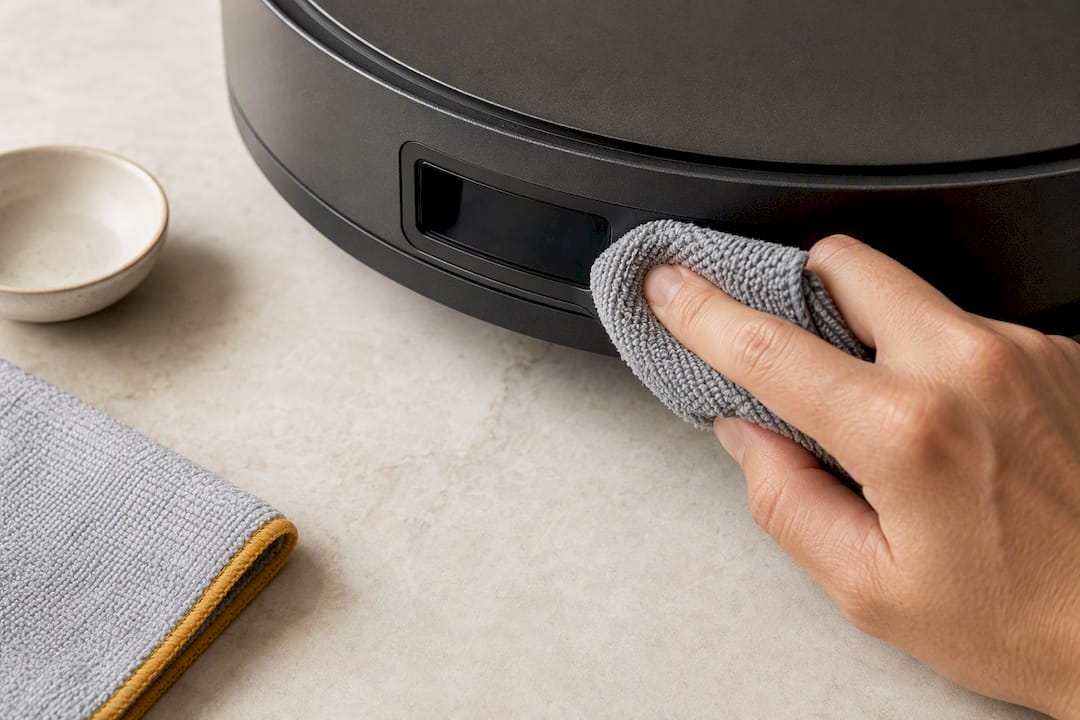
Sensors, LiDAR, and camera windows. Use only a dry, soft microfiber cloth here. Liquids and abrasive materials can scratch lens coatings and cause permanent navigation errors, according to CNET’s robot vacuum maintenance guide. A 30-second wipe once a month is plenty.
Charging contacts. Dip a cotton swab in isopropyl alcohol and gently clean the metal contacts on both the robot’s underside and the dock. Corrosion or dust buildup here is one of the most common, and most overlooked, causes of charging failures.
Wheels and casters. Spin each wheel by hand and listen for grinding or resistance. Pick out hair and debris wound around the axle, since even a small amount can throw off tracking and cause the robot to veer off course.
Mop pads and water tanks. Machine-wash reusable pads in cold water with no fabric softener, which leaves a residue that streaks floors. Let them air-dry fully. If you own a self-wash dock, wipe out the dirty-water tray weekly; stagnant water there gets smelly fast.
Pro Tip: Keep a small tin of spare screws, brushes, and filters near your dock. Half the “maintenance” battle is just not having to hunt for parts when you finally sit down to do it.
Most robot vacuum troubleshooting comes down to three culprits: a clogged airway, a dirty sensor, or tangled wheels. Here’s how to triage fast, before assuming the machine is broken.
Routine checks and part swaps resolve the overwhelming majority of complaints that owners assume mean their robot is dying, according to iFixit’s long-term care analysis. Call support or consider a repair only if the battery holds less than roughly 60% of its original runtime, the motor makes a persistent grinding noise, or a part failure repeats after you’ve replaced it.
Robot vacuum parts replacement runs on predictable cycles, and knowing them in advance keeps a $30 filter swap from turning into a $150 motor repair.
Pet households should replace these parts more frequently, especially brushes and filters. Twice-weekly hair removal from the roller, instead of once, prevents the single most common cause of pet-home suction loss, according to VacuumWars’ maintenance research. If you’re weighing a model specifically for a shedding household, our guide to choosing a robot vacuum for pet hair covers the tradeoffs.
Annual consumable costs vary widely depending on brand and household use.
| Month | Task |
|---|---|
| January | Replace main brush |
| March | Replace disposable filter |
| April | Deep-clean dock and water tank |
| June | Replace side brushes |
| July | Replace disposable filter |
| September | Battery runtime check |
| October | Replace main brush |
| November | Replace disposable filter |
| December | Firmware and full inspection |
Repairability is the real predictor of how long a robot vacuum lasts, not the price tag on the box. Models with accessible parts and swappable batteries routinely outlive sealed, hard-to-service units by years, not months, a point iFixit has made repeatedly in its teardown coverage of the category’s repair patterns. Most units labeled “dead” by frustrated owners are actually suffering from a clogged filter, a tangled brush, or dirty contacts. All three are five-minute fixes.
Sabezon designs around that reality. The FloorPilot™ Smart Robot Vacuum pairs a self-emptying station with LiDAR navigation and Wi-Fi and Alexa control, and every part covered in this guide, from brushes to filters to sensors, follows the same care routine outlined above.
Maintenance is cheap. Replacement is not. A $15 filter and a Sunday five-minute check beat a $200 repair bill every time.
Most robot vacuum maintenance advice online reads like a technical manual when it should read like a grocery list. The conventional wisdom treats every task as equally urgent, which leads owners to either ignore all of it or burn an hour every weekend on deep cleaning a machine that needed five minutes of attention.
Here’s what actually matters, in order: the brush and filter cause almost every performance complaint, so they deserve weekly attention. Sensors and contacts cause almost every navigation and charging complaint, so they deserve monthly attention. Everything else, batteries, seals, firmware, is a quarterly check because those parts degrade slowly and predictably.
The industry’s obsession with self-emptying and self-washing docks has created a false sense of security. Those features cut down on hands-on emptying, not on maintenance itself. Skip the monthly bag and tray check on a self-empty system and you’ll still end up with the same clogged airway and the same suction complaint as someone with a basic model. The fix isn’t more gadgets. It’s ten honest minutes a week.
— Tony
Every step in this guide gets easier when the hardware is designed for it, and that’s the gap Sabezon set out to close. The FloorPilot™ Smart Robot Vacuum pairs a self-emptying station with accessible brushes and filters, so the weekly checks in this guide take minutes instead of a wrestling match with hard-to-reach parts.

Smart products should work with your schedule, not add to it. Sabezon’s cleaning lineup, including the Smart Cleaning collection, is built around that same idea: easy-to-use, reliable machines with parts you can actually get to when it’s time for upkeep. If your current robot is more hassle than help, browse the FloorPilot™ Smart Robot Vacuum page and see the maintenance features for yourself before you buy.