Cart
0
Complete Your Setup





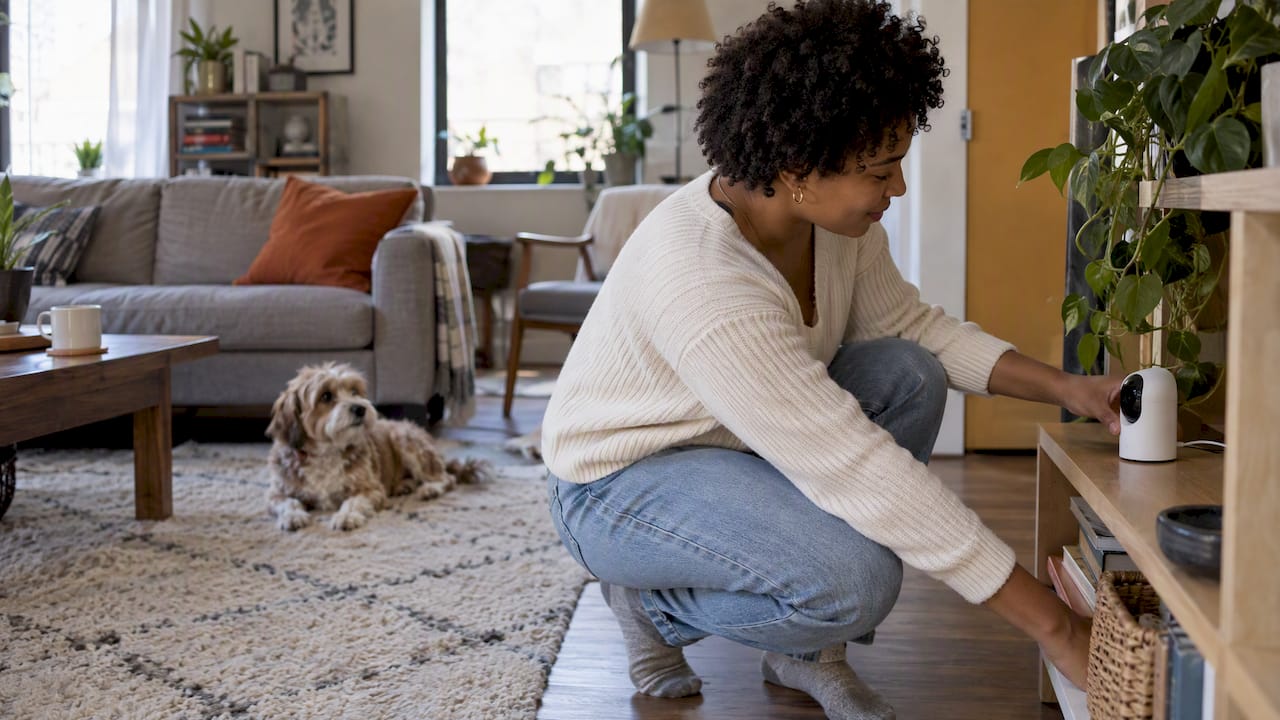
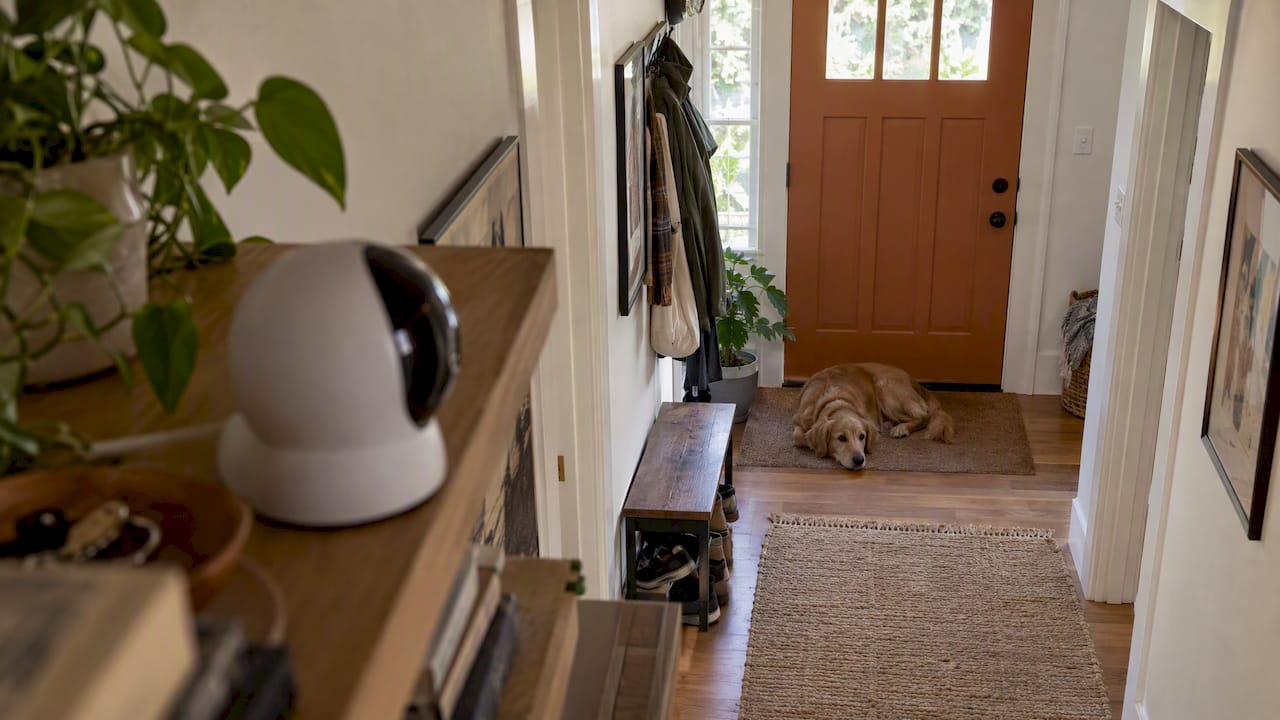
Most pet camera setups take about 20 minutes: pick a spot, plug the camera in, scan a code in the app, join your home Wi-Fi, then test the view and the alerts. The steps are simple. The mistakes are too, and they are easy to avoid. This guide walks you through each step, shows where people usually get stuck, and explains what to do if your home has weak Wi-Fi or none at all.
Smart Products. Zero Hassle. That is how setup should feel, so we kept every step short.
Gather these first. It saves you from stopping halfway through.
Two quick checks save the most time. First, find out whether your Wi-Fi is dual-band (2.4 GHz and 5 GHz). Second, make sure your phone is on that same network. Many smart cameras pair on 2.4 GHz only, and the setup can fail if your phone is on a different network or a guest network.
Start with your pet, not the wall. Where does your dog nap, wait by the door or chew the couch? Where does your cat watch the window? The veterinary network VCA suggests identifying your pet’s favorite spots and considering your home’s floor plan when you choose where cameras go. Some units sit on a table, others mount on a wall or floor, and a wide-angle view may cover an open-concept home while other layouts need more than one camera.
Here is a quick way to decide:
| Your situation | Good placement | What to avoid |
|---|---|---|
| Dog who sleeps in a crate | Shelf or stand facing the crate, at crate height or slightly above | Pointing straight at a bright window |
| Cat who roams | Corner of the main room, angled to cover the entry and the favorite perch | Spots your cat can knock the camera off |
| Open-concept home | Mid-height shelf at the room’s edge for a wide view | Placing it in a corner with a blocked view |
| Separation anxiety concerns | Where your pet spends the first minutes after you leave, usually near the door | Hiding it where you cannot see the whole body |
| Multiple pets | A central spot, or two cameras for separate zones | Covering only one pet’s area |
A few rules hold in nearly every home:
If you are still choosing features such as pan, night view or two-way audio, our guide to mapping pet camera features to your pet walks through it in three steps.
Do not mount anything yet. Plug the camera in, set it near your router and wait for the indicator light. Most cameras flash or speak a prompt when they are ready to pair. If your light is not blinking or the camera says it is not ready, check your manual for the reset method. Many cameras use a small reset button held for several seconds.

Placing it near the router matters. Owlet’s help center, for one camera model, recommends setting up within 10 feet of the router, and the same habit works for almost any Wi-Fi camera. Once the camera is online and working, you can move it to its final spot.
Download the app named in your camera’s manual. Create an account with an email you check often, because password resets and security notices go there.
Use these account habits from the start:
This is the step where most setups slow down. The usual flow is:
Many pet cameras connect on 2.4 GHz, which travels farther through walls than 5 GHz. If your router combines both bands under one name, your phone may sit on 5 GHz during setup and the camera may not see it. Owlet’s guidance notes that after setup the phone may return to 5 GHz on supported dual-band networks, so the pairing step is the only time you might need to force 2.4 GHz. That same page says streaming needs at least 2 Mbps upload and download speed, a good baseline when you test your own connection.

If you want the full process, our 2.4 GHz smart device setup guide shows how to split the bands step by step. For general pairing safety, see our walk-through on how to securely connect smart devices to Wi-Fi.
A pet camera sees your home all day, so privacy is part of setup, not an extra. VCA advises you to investigate the privacy safeguards and who can access the camera. It also notes that some systems let several users share one account and password, and some limit connected users to two at a time.
Avoid shared logins. Give each family member their own access if the app allows it. Then go through this checklist:
For a deeper look at a similar device, our post on doorbell camera privacy settings covers settings that apply to most home cameras too.
Now move the camera to its final spot. Do this with the app open so you can check the view on your phone while you adjust.
Check the live view at your pet’s eye level. Walk through the room as your pet would. Is the crate door visible? Does the feeding area fit in the frame? If not, nudge the angle and check again.
Do not trust the first successful connection. A good test run takes five minutes and catches most problems.
Once the basics work, you can use footage for more than checking in. Our short camera tests that turn footage into a training plan show how to use a few minutes of video to spot patterns in your pet’s behavior.
Sometimes, with limits. A camera that records to a memory card can run without internet, and you review the clips later. A camera with a built-in cellular connection can stream without home Wi-Fi, but it normally needs a data plan. Some phones can also act as a hotspot for a camera, though that drains your data and battery.
Before you choose, think about what you want:
| Need | Works without home Wi-Fi? | Trade-off |
|---|---|---|
| Review clips later | Yes, with local storage on a memory card | No live view from away |
| Live view from anywhere | Only with a cellular camera or hotspot | Data plan or subscription cost |
| Motion alerts to your phone | Rarely | Alerts normally need internet |
| Talk to your pet remotely | Rarely | Two-way audio normally streams over the internet |
If your problem is a weak signal and not a missing one, you may not need a different camera at all. A Wi-Fi extender or a mesh node near the room often fixes it. We cover this in our post on Wi-Fi interference and smart devices.
Work from the simplest fix to the most involved.
If the router is the weak link, our Wi-Fi controller setup guide explains three pairing methods that fit into 15 minutes.
We see the same pattern again and again with home gadgets. The device is fine. The setup is rushed. People mount the camera first, then find the Wi-Fi is too weak in that corner. Or they skip the privacy screen and share a single login with half the family.
Our advice is simple. Pair it near the router. Test it before you mount it. Lock it down before you rely on it. A pet camera should give you peace of mind at work, not another thing to manage.
We built our smart home range around that idea: easy-to-use products that set up without technical complexity. Tested. Proven. Loved. When you shop, look for a quick app pairing process, a clear wide view, night viewing and straightforward privacy controls. Those matter more than a long feature list you will never open.
— Tony
If you are shopping, our Watchly Smart Pet Camera is built for simple setup and everyday use. You can also browse the full Smart Home Tech collection for other gadgets that make the house run more smoothly. Shop Smarter, Live Better.
Print this or save it to your phone.
Most people finish in about 20 minutes. Pairing takes a few minutes, and the rest is choosing a spot, setting privacy options and testing. If your Wi-Fi is weak in that room, allow extra time to improve it.
Put it where your pet spends most time, such as near the crate, bed or favorite window perch. VCA suggests considering your pet’s favorite spots and your home’s layout. Keep it stable, out of reach and away from strong backlight.
The usual cause is a network mismatch. Your phone may be on 5 GHz or a guest network while the camera needs 2.4 GHz. Move closer to the router, check the password and restart both devices. If that fails, reset the camera and pair it again.
Yes, with limits. Models with a memory card can record locally, and cellular models can stream over a mobile plan. Live view and alerts from away normally need an internet connection of some kind.
Use a unique password, give each person their own access and avoid sharing one login. Check who can view the camera and where footage is stored, and keep the firmware updated.